
Gatemi Wishlist adds a heart-shaped Add to wishlist button to your product pages and shop listings, and a wishlist page shoppers can share by link. Guests can save too; when they sign in, what they saved moves onto their account.
These docs cover both editions:
- Gatemi Wishlist — the free edition, coming to wordpress.org.
- Gatemi Wishlist for WooCommerce — the full edition, sold on gatemi.com.
Anything marked Full edition is only in the paid plugin. Everything else is in both.
Requirements
| Free edition | Full edition | |
|---|---|---|
| WordPress | 6.4 or later | 6.4 or later |
| PHP | 7.4 or later | 7.4 or later |
| WooCommerce | 8.0 or later | 8.0 or later |
Both editions declare compatibility with High-Performance Order Storage (HPOS) and with the Cart and Checkout blocks. Neither makes any external request, except the full edition's licence check with gatemi.com.
1. Install
Free edition: coming to wordpress.org. Until it is listed, install the zip through Plugins → Add New → Upload Plugin and activate it.
Full edition: download the zip from your gatemi.com account, go to Plugins → Add New → Upload Plugin, upload and activate. Then open WooCommerce → Wishlist and enter your licence key in the License & updates card. The plugin works without a key; the key switches on one-click updates and support.
Activation creates the plugin's database table (free edition) or two tables (full edition). See the Developer reference.
You only need one edition. If both are active, the free edition stands down and says so in a row under its entry on the Plugins screen. The two editions keep their wishlists in separate tables — read moving to the full edition before you switch on a live store.
2. Create the wishlist page
- Go to Pages → Add New, call it Wishlist, and add the shortcode
[gatemi_wishlist](a Shortcode block in the block editor). Publish. - Go to WooCommerce → Wishlist (needs
manage_woocommerce). - In Wishlist page, choose the page you just made.
- Check the other settings — by default the button shows on the product page and on shop listings, and guests may save.
- Press Save changes.
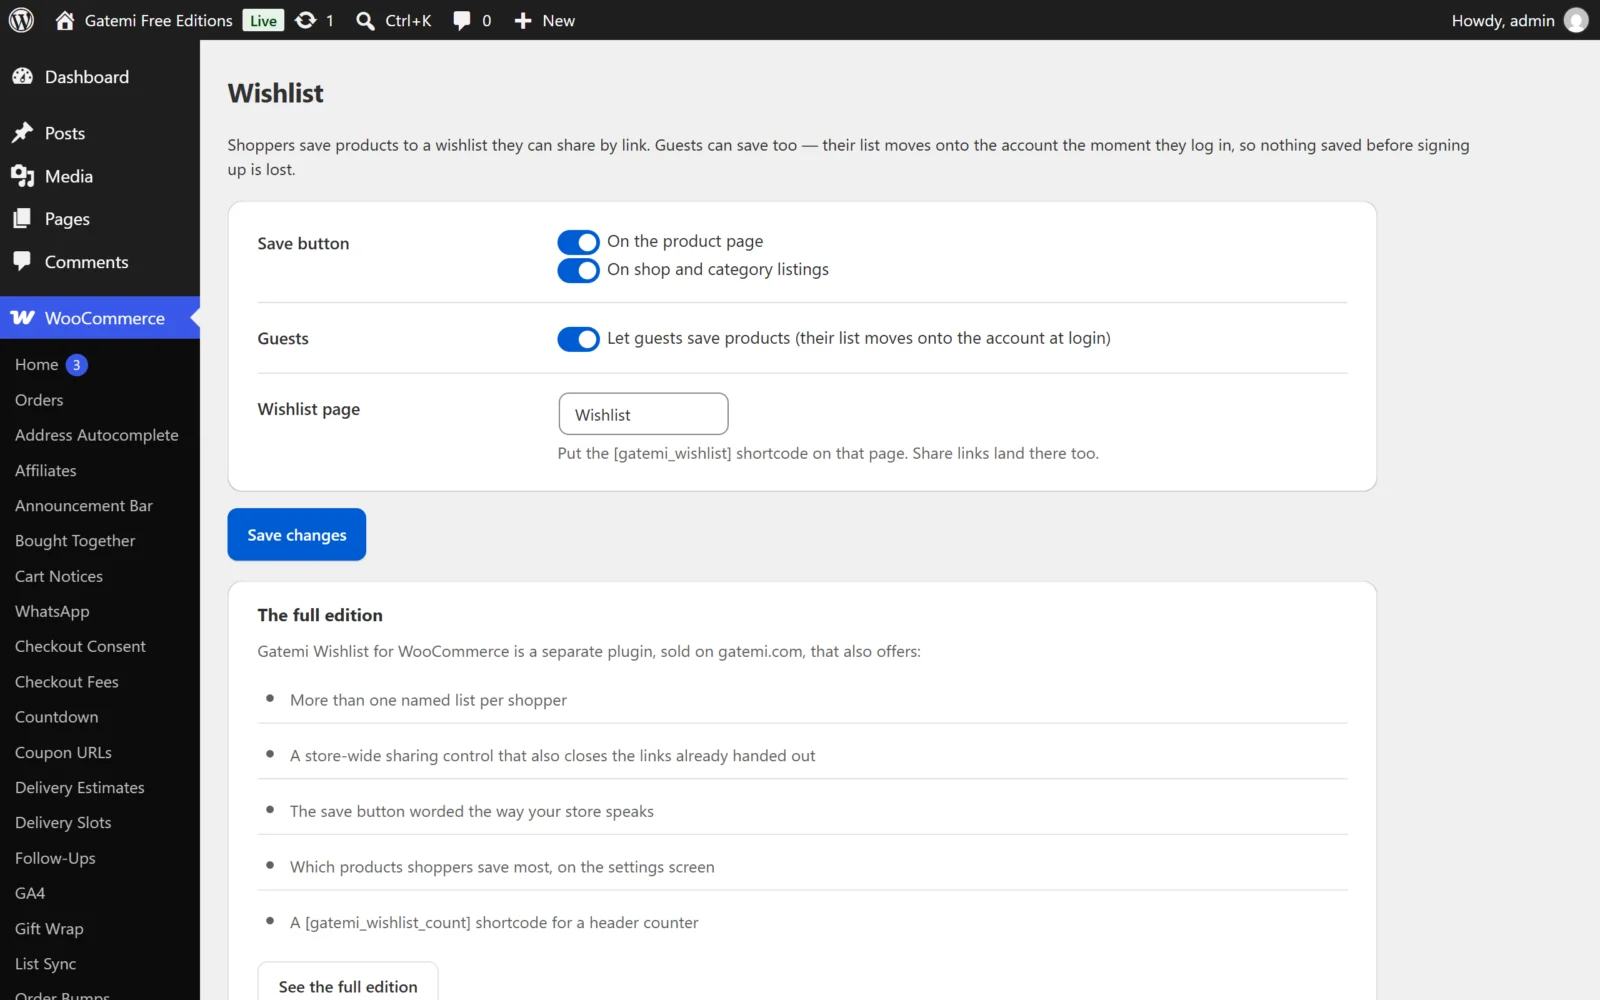
Choosing the page matters: share links are built from it. Without a page, a share link points at your home page, where there is no shortcode to show the list.
3. Test it
- Open a product in a private window, where you are not signed in.
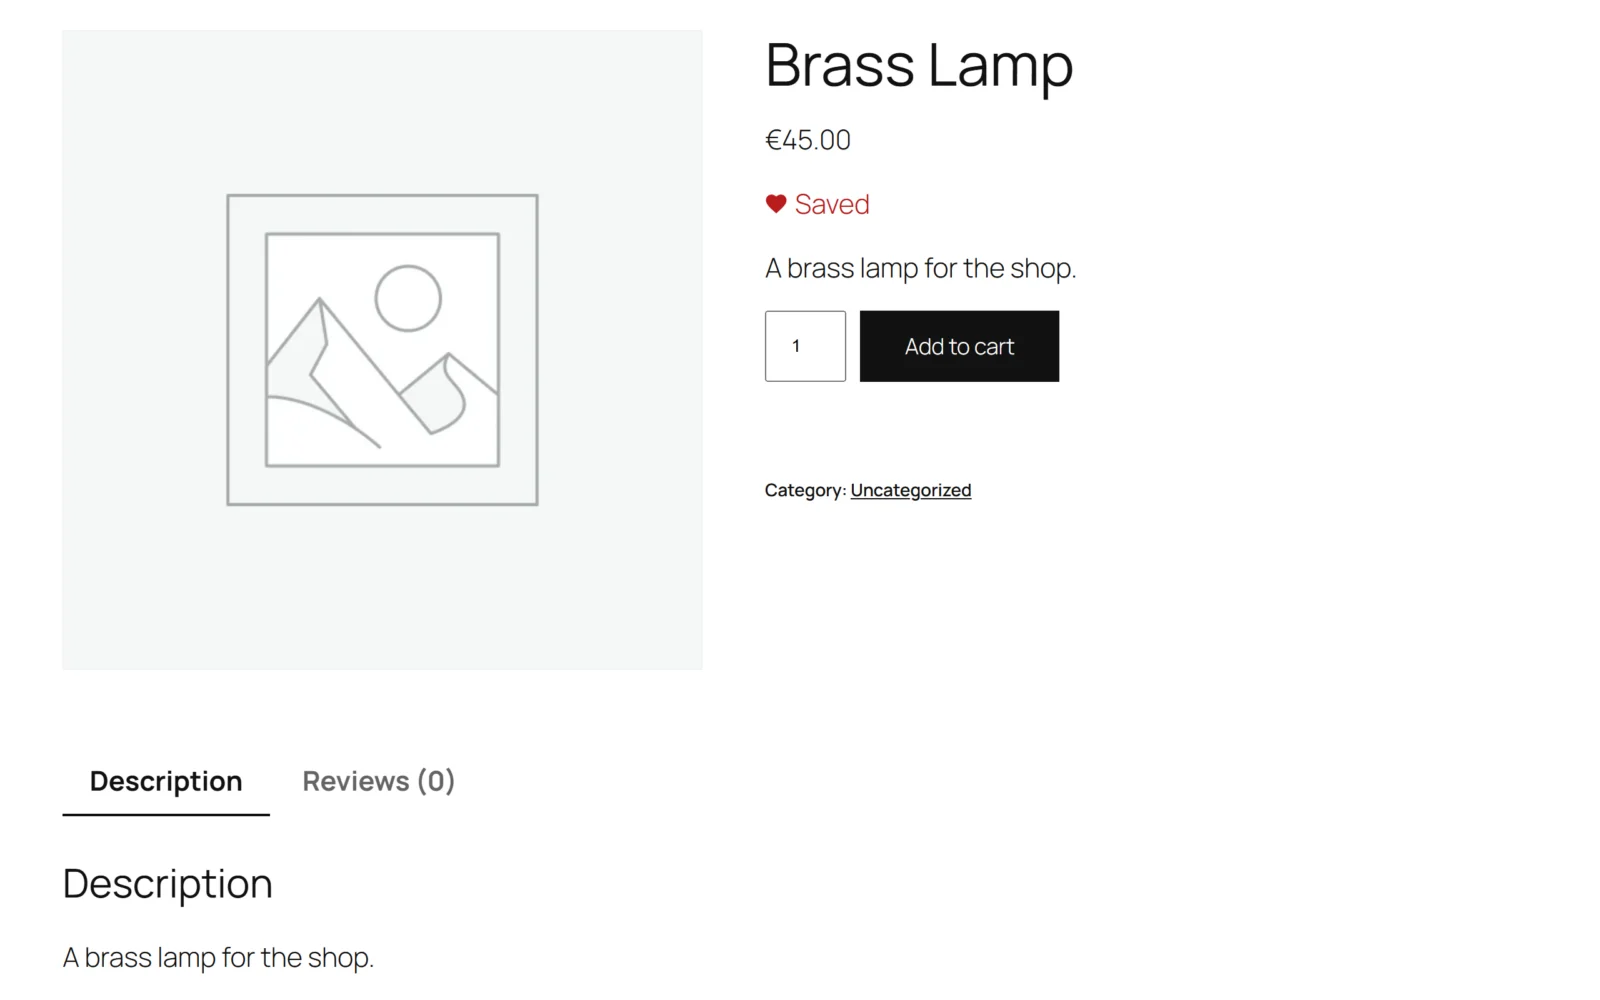
- Below the add-to-cart button, press Add to wishlist. It turns into Saved.
- Open your wishlist page. The product is listed with its image, price, stock and an Add to cart button (or WooCommerce's own button wording — Select options for a variable product).
- Copy the address from Share this wishlist and open it in another browser. You see the same products, read-only: no remove buttons, no share box.
- Back in the private window, sign in to a customer account. Open the wishlist page again: the product you saved as a guest is now on the account's wishlist.
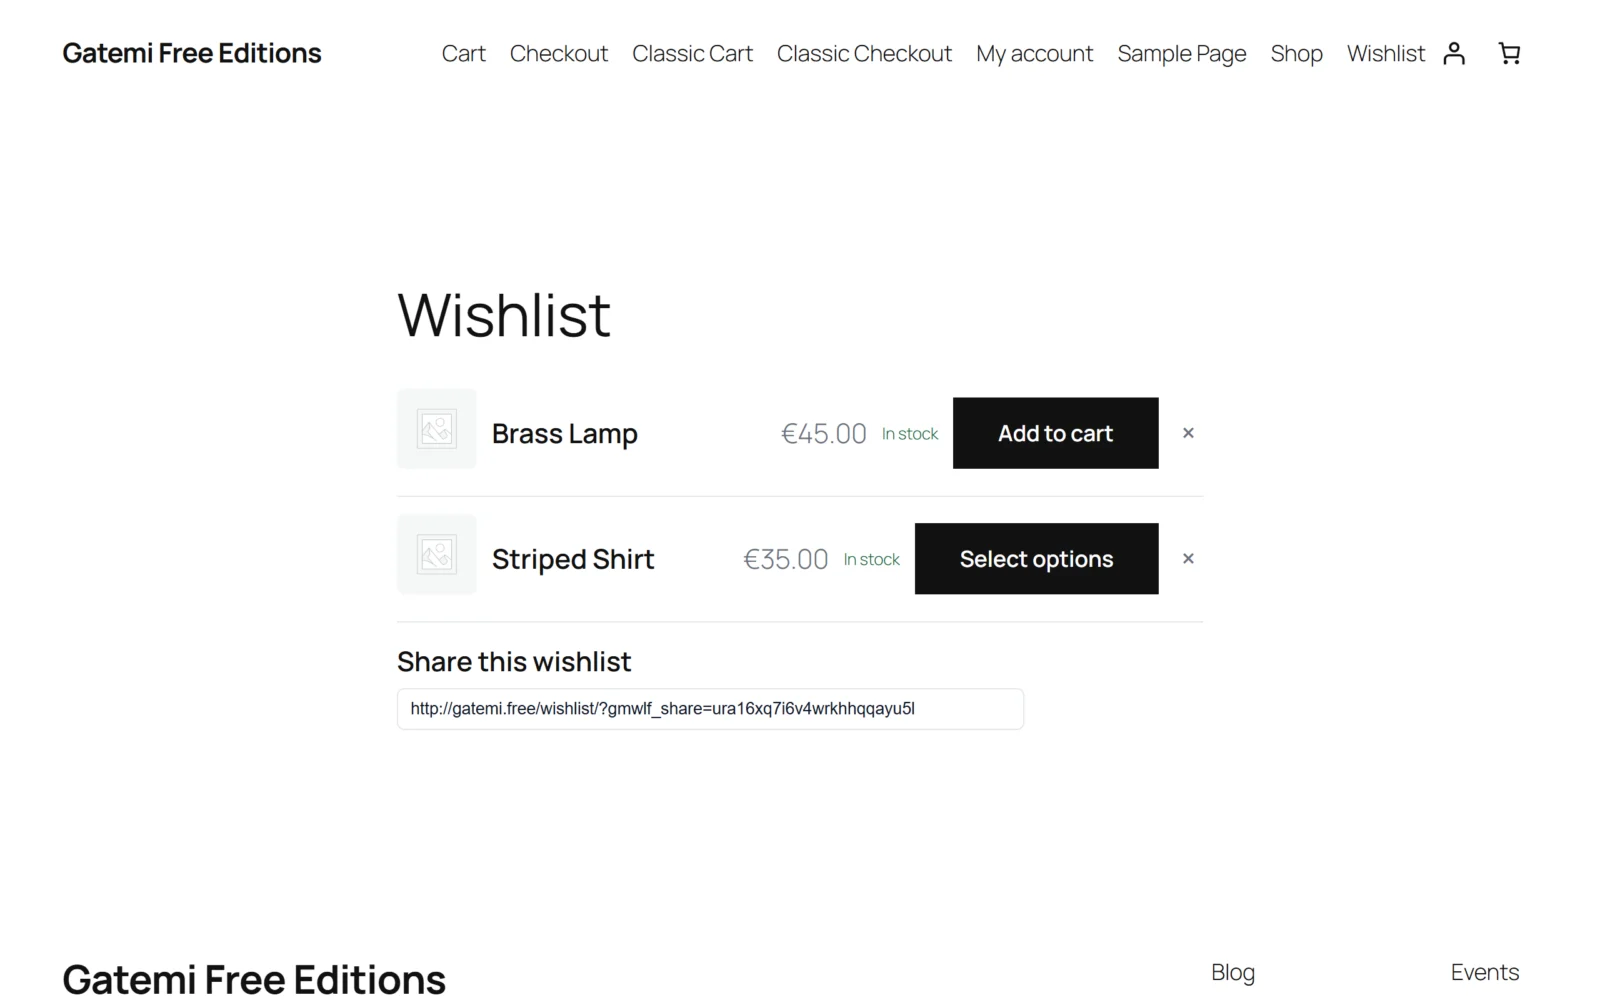
Press Saved again to remove a product, or the × beside it on the wishlist page.
Where the button appears
- On the product page — WooCommerce's
woocommerce_single_product_summaryhook at priority 35, after the add-to-cart form. - On shop and category listings —
woocommerce_after_shop_loop_itemat priority 15, below each product.
You can also put the wishlist anywhere with [gatemi_wishlist]. Full edition: [gatemi_wishlist_count] shows how many products the visitor has saved — useful in a header.
With guests switched off, a signed-out visitor sees Log in to save, a link to your account page, instead of a button that would fail after the click.
Next steps
- Settings
- How it works — owners, the guest merge and share keys.
- FAQ and troubleshooting
- Developer reference