
Gatemi Zapier connects a WooCommerce store to Zapier. Something that happens in the store — an order, a new customer — starts a Zap; with the full edition, a Zap can also create and change things in the store.
There are two halves:
- The WordPress plugin, which this manual covers. It runs on your store.
- The Zapier app, "Gatemi for WooCommerce", which runs on Zapier and talks to the plugin.
These docs cover both editions of the plugin:
- Gatemi Zapier — the free edition, coming to wordpress.org.
- Gatemi Zapier for WooCommerce — the full edition, sold on gatemi.com.
Anything marked Full edition is only in the paid plugin.
The Zapier app is not yet listed in Zapier's app directory. Until it is, searching Zapier for "Gatemi for WooCommerce" finds nothing. The plugin side described here is complete and can be installed and checked now; the connection steps in section 3 apply once the app is published on Zapier.
Requirements
| Free edition | Full edition | |
|---|---|---|
| WordPress | 6.4 or later | 6.4 or later |
| PHP | 7.4 or later | 7.4 or later |
| WooCommerce | 8.0 or later | 8.0 or later |
Your store must be served over HTTPS. WooCommerce only accepts API keys over HTTPS, and the connection request carries a store login, so both editions refuse to connect over plain HTTP.
You also need a WordPress account that can manage WooCommerce (an administrator or shop manager) and pretty permalinks (anything but Plain under Settings → Permalinks), because Zapier reaches the store through /wp-json/.
1. Install
Free edition: coming to wordpress.org. Until it is listed, install the zip through Plugins → Add New → Upload Plugin and activate it.
Full edition: download the zip from your gatemi.com account, go to Plugins → Add New → Upload Plugin, upload and activate. Then open WooCommerce → Zapier → Settings and enter your licence key in the License & updates card. The plugin works without a key; the key switches on one-click updates and support.
You only need one edition. If both are active, the free edition stands down.
2. Check the store is ready
Go to WooCommerce → Zapier (needs manage_woocommerce).
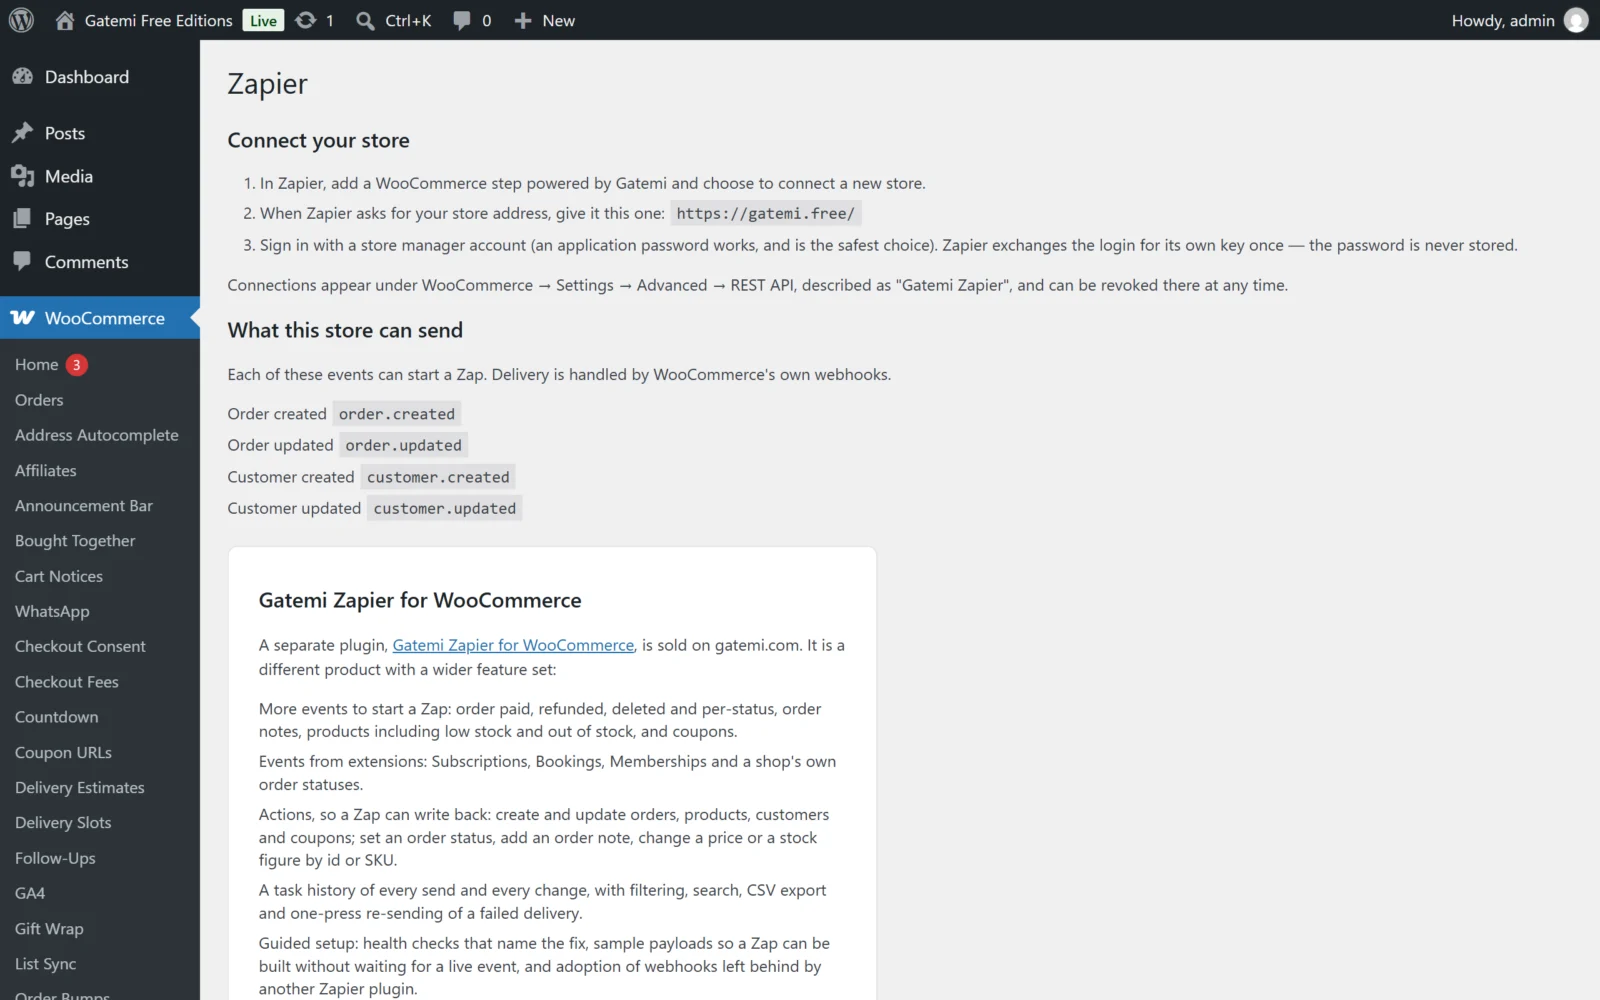
Free edition: the screen shows the address to give Zapier, warns if the store is not on HTTPS, and lists the four events the store can send.
Full edition: the Setup tab starts with Check this store is ready: a list of checks — WooCommerce, HTTPS, permalinks, storage, scheduled tasks, other Zapier plugins, the connection, webhook owners and recent failures. Each one that needs attention says what was found and what to do. Fix anything under Needs fixing: and press Check again. The heading reads Ready to connect when all is well.
3. Connect from Zapier
- In Zapier, start a new Zap and, for the trigger, choose the app Gatemi for WooCommerce.
- Choose Connect a new account.
- Store Address: paste the address from the plugin's screen — your site's home address, such as
https://shop.example.com/. - Username and Password: a WordPress account that can manage WooCommerce. Using two-factor authentication? Create an application password (Users → Profile → Application Passwords) and use that — it is the safest choice either way, because it can be revoked on its own.
- Continue. Zapier sends the login once to your store's
/wp-json/gatemi-zapier/v1/connect; the plugin checks it, creates a WooCommerce API key pair, and returns the pair to Zapier. The password is not stored — not by the plugin, not by Zapier.
The new key appears under WooCommerce → Settings → Advanced → REST API, described as Gatemi Zapier. Revoke it there to disconnect Zapier.
Five failed sign-ins from one address lock connecting from that address for 15 minutes; failures against one username are counted too (five in the free edition, fifteen in the full edition). Every failure says only that the username or password is incorrect, never which.
4. Build a first Zap
- Pick a trigger event — for example New Order.
- Zapier asks for a sample. With the full edition, the store answers with a sample built from your most recent order, so you can map fields without placing a test order. With the free edition, Zapier shows a built-in example order until a real one arrives.
- Add an action in another app (a Google Sheets row, a Slack message) and map the order fields into it.
- Publish the Zap.
Publishing subscribes: Zapier asks the store to create an ordinary WooCommerce webhook for that event. It appears under WooCommerce → Settings → Advanced → Webhooks, named like Gatemi Zapier: order.created.
5. Check it works
Place a test order. Within a minute or so the Zap runs (WooCommerce delivers webhooks through its scheduled-action queue).
- Full edition: WooCommerce → Zapier → Activity lists every delivery, with Succeeded or Failed, and Send again on a failure.
- Free edition: open the webhook under WooCommerce → Settings → Advanced → Webhooks and check its delivery logs in WooCommerce → Status → Logs.
Next steps
- Settings — the full edition's settings and every event.
- How it works — keys, webhooks, actions.
- FAQ and troubleshooting
- Developer reference