
Gatemi Store Migration brings a shop into WooCommerce from the CSV export its old platform already gives you — a Shopify CSV export or a WooCommerce CSV export. It reads the file in batches, silences every email while it runs, and remembers where each record came from, so running the same file twice changes nothing.
These docs cover both editions:
- Gatemi Store Migration — the free edition, coming to wordpress.org. It imports products and customers.
- Gatemi Store Migration for WooCommerce — the full edition, sold on gatemi.com. It also imports orders and coupons.
Anything marked Full edition is only in the paid plugin.
Requirements
| Free edition | Full edition | |
|---|---|---|
| WordPress | 6.4 or later | 6.4 or later |
| PHP | 7.4 or later | 7.4 or later |
| WooCommerce | 8.0 or later | 8.0 or later |
Both editions declare compatibility with WooCommerce's order storage (HPOS) and the Cart & Checkout blocks. You need an account with the manage_woocommerce capability (an administrator or shop manager).
1. Install
Free edition: coming to wordpress.org. Until it is listed, install the zip through Plugins → Add New → Upload Plugin and activate it.
Full edition: download the zip from your gatemi.com account, go to Plugins → Add New → Upload Plugin, upload and activate. Then enter your licence key in the License & updates card at the bottom of WooCommerce → Store Migration. The plugin works without a key; the key switches on one-click updates and support.
You only need one edition. If the full edition is active, the free edition stands down and says so in a line under its entry on the Plugins screen.
2. Export from the old shop
- Shopify: export products (and, separately, customers) as CSV from the Shopify admin. Full edition: orders and discount codes too.
- WooCommerce: use the CSV export the old store offers — for products, WooCommerce's own Products → Export.
Accepted CSV columns lists exactly which headers are read for each source and each kind of record.
3. Choose how imports behave
Open WooCommerce → Store Migration and look at How imports behave at the bottom:
- Publish imported products straight away — off by default. Leave it off for the first run; imported products arrive as drafts.
- Delete the uploaded file when I am done with a migration — on by default.
Press Save changes if you change either. See Settings.
4. Start a migration
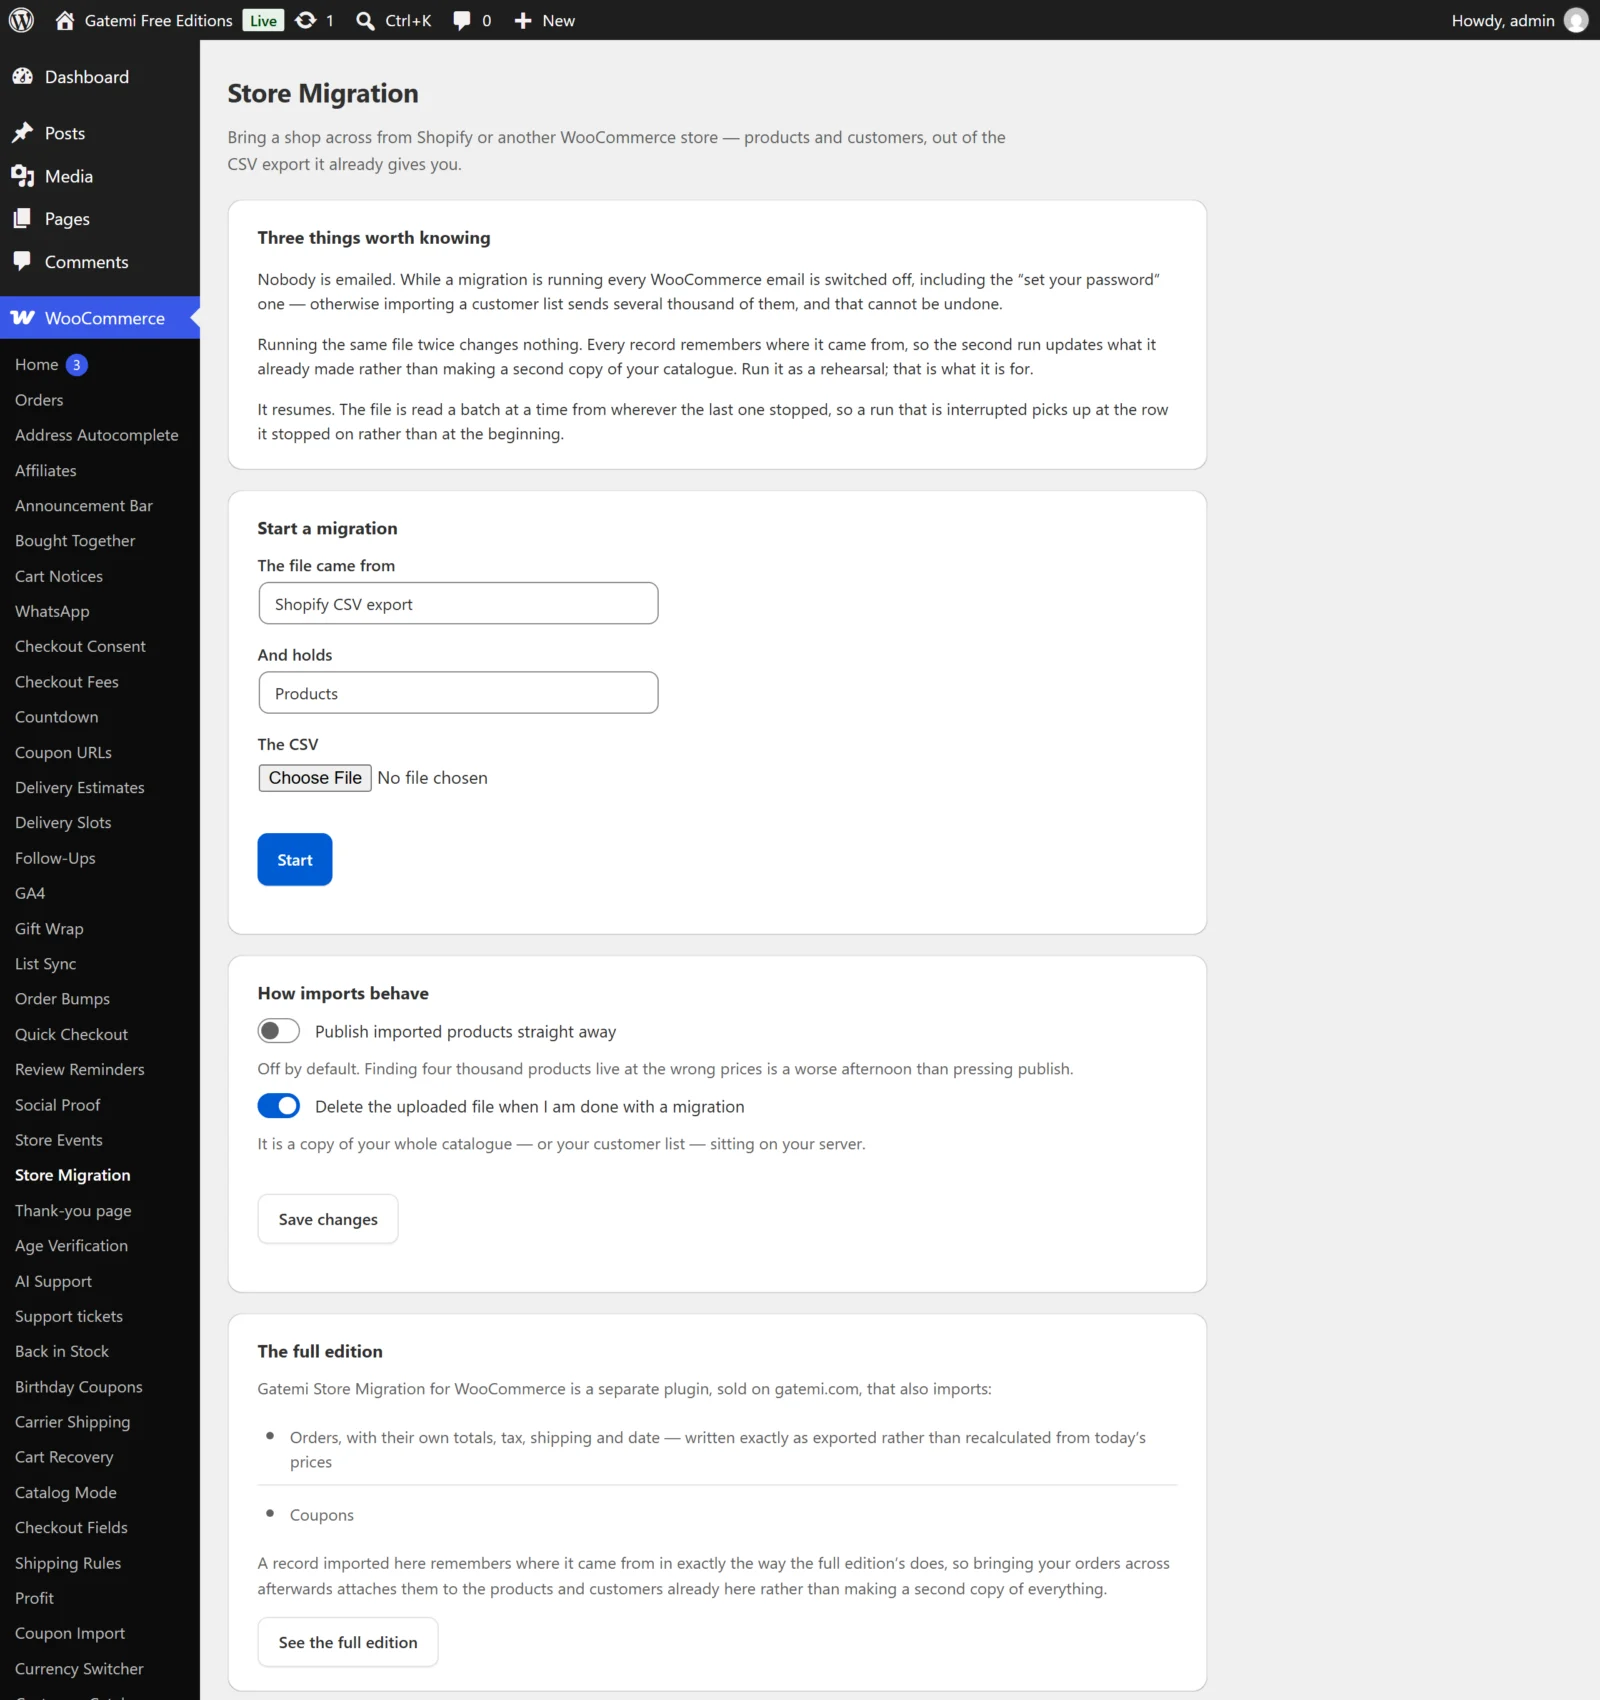
- The file came from — Shopify CSV export or WooCommerce CSV export.
- And holds — Products or Customers. Full edition: also Orders or Coupons.
- The CSV — choose the file.
- Press Start.
One kind at a time, and products first: an order line that names a SKU is attached to the product with that SKU, so the products must already be there (full edition).
5. Let it run
The screen shows the file name, a progress bar and three counts: created, updated and skipped. The file is read 50 rows at a time, once a minute, in the background — you can leave the page.
If the bar has not moved in a few minutes, your host's scheduler (WP-Cron) is asleep. Press Run the next batch now; it runs exactly the same code as the scheduled run.
6. Check it worked
When the screen says Finished:
- Add created + updated + skipped. That is every row in the file (after the header). If they add up, nothing was lost.
- Read Why rows were skipped. On a Shopify product file, most skipped rows are variant lines — "No name of its own — usually a variant line under the product above it." That is expected.
- Open Products (or Users) and look at a few records. Products are drafts unless you switched publishing on.
- Press Done — clear this and start another. That closes the job and, with the default setting, deletes the uploaded file.
Something wrong? Fix the file and run it again. The second run updates the records the first one made instead of creating copies — that is what the plugin is designed for.