
WooCommerce's seven order statuses — Pending payment, Processing, On hold, Completed, Cancelled, Refunded and Failed — rarely match how a shop really works. Gatemi Order Statuses adds your own: "Awaiting stock", "Being made", "Ready for collection", "Shipped to partner". They are registered through WooCommerce's own machinery, so they appear in the order status dropdown, the orders list and its filters, and as bulk actions.
There are two editions, and this manual covers both:
- Gatemi Order Statuses — the free edition. Up to three custom statuses, each a slug and a label, with bulk actions on both order screens.
- Gatemi Order Statuses for WooCommerce — the full edition, sold on gatemi.com. Any number of statuses, a badge colour for each on the orders list, and an optional email to the customer when an order enters a status.
Requirements
Both editions need:
- WordPress 6.4 or later
- PHP 7.4 or later
- WooCommerce 8.0 or later (tested up to 10.9)
Both declare High-Performance Order Storage (HPOS) compatibility, and the bulk actions are added to both the HPOS orders screen and the classic one. Nothing is added to the storefront.
Install the free edition
The free edition is coming to wordpress.org. Once it is listed there:
- Go to Plugins → Add New.
- Search for "Gatemi Order Statuses".
- Click Install Now, then Activate.
Install the full edition
- Sign in to your gatemi.com account and download the plugin zip.
- Go to Plugins → Add New → Upload Plugin, choose the zip, then Install Now and Activate.
- Go to WooCommerce → Order Statuses and find License & updates.
- Paste your licence key (
GM-XXXXX-XXXXX-XXXXX-XXXXX-XXXXX) and click Activate for one-click updates.
The free edition stands down while the full edition is active; the full edition reads the statuses you already created.
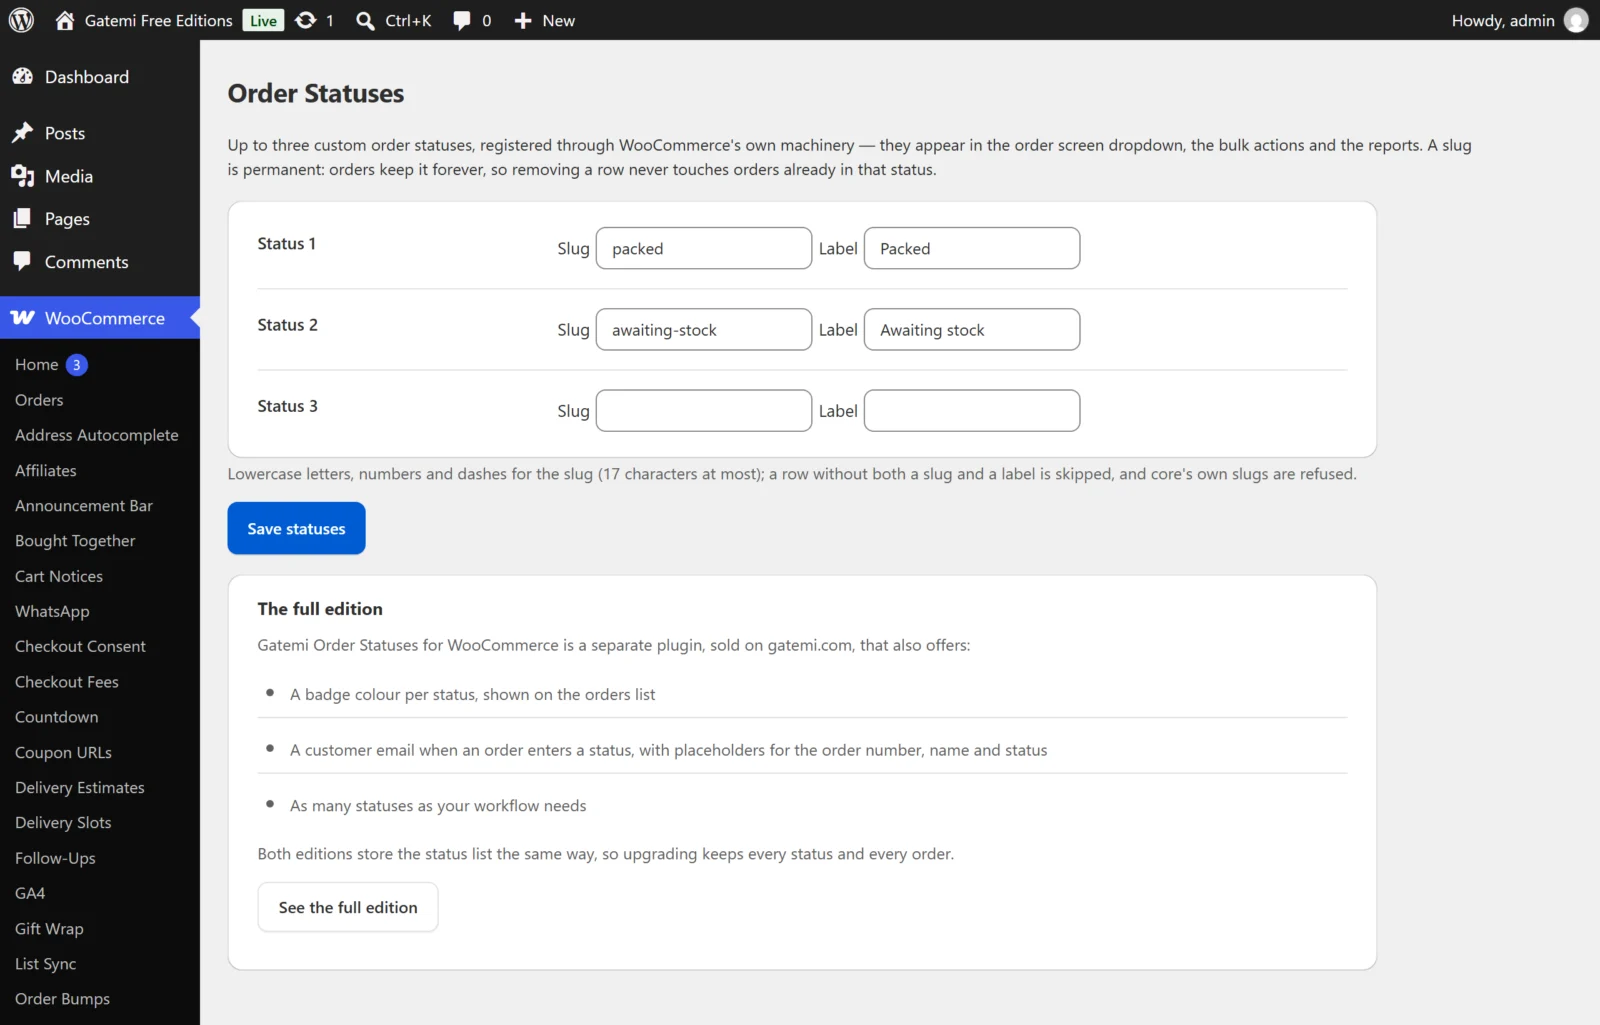
Your first status
- Go to WooCommerce → Order Statuses.
- Free edition: in Status 1, fill in Slug and Label. Full edition: click Add status, then fill in Label and Slug (permanent).
- Slug: lowercase letters, numbers, dashes and underscores, at most 17 characters, for example
awaiting-stock. Choose it once — orders store it, so after saving it is shown as text and cannot be edited. - Label: what people see, for example "Awaiting stock".
- Slug: lowercase letters, numbers, dashes and underscores, at most 17 characters, for example
- Full edition: choose a Color for its badge on the orders list, and tick Email the customer when an order enters this status if you want a message to go out (see Settings).
- Click Save statuses (full edition: Save changes).
Check it works
- Open any order under WooCommerce → Orders. The Status dropdown now lists "Awaiting stock". Choose it and click Update.
- Back on the orders list, the order shows the new status, and the status filter at the top of the list has an "Awaiting stock (1)" link.
- Select a few orders, open Bulk actions and choose Change status to Awaiting stock, then Apply. Each order gets the note "Status changed in bulk."
- Full edition: the badge on the orders list has your colour, with dark or white text picked automatically so it stays readable. If you switched the email on, the customer receives "Your order 1042 is now Awaiting stock".