
These docs cover both editions:
- Gatemi Coupon Import — the free edition. It imports and exports coupons. It is coming to wordpress.org.
- Gatemi Order Import for WooCommerce — the full edition, sold on gatemi.com. It imports orders as well as coupons.
Anything marked Full edition is only in the paid plugin. Everything else is in both.
Requirements
| Free edition | Full edition | |
|---|---|---|
| WordPress | 6.4 or later | 6.4 or later |
| PHP | 7.4 or later | 7.4 or later |
| WooCommerce | 8.0 or later (tested up to 10.9) | 8.0 or later (tested up to 10.9) |
Both declare compatibility with High-Performance Order Storage (HPOS) and with the Cart and Checkout blocks. Neither adds anything to your storefront: an import happens on one admin screen, in the request you start by pressing a button. There are no database tables, no scheduled jobs and no stored files.
You need the manage_woocommerce capability to see the screen. Shop managers and administrators have it.
1. Install
Free edition: Gatemi Coupon Import is coming to wordpress.org. Once it is listed, go to Plugins → Add New, search for "Gatemi Coupon Import", install and activate.
Full edition: download the zip from your gatemi.com account, then go to Plugins → Add New → Upload Plugin, upload it and activate. Open WooCommerce → Import, scroll to License & updates, paste your licence key (it looks like GM-XXXXX-XXXXX-XXXXX-XXXXX-XXXXX) and press Activate. The importer works without a key; the key switches on one-click updates and support.
You only need one edition. If both are active, the free edition stands down and says so in a row under its own entry on the Plugins screen. You can then deactivate it — the full edition reads the same settings and the same coupon columns.
2. Open the screen
- Free edition: WooCommerce → Coupon Import.
- Full edition: WooCommerce → Import. It is also listed as Order Import under the Gatemi menu.
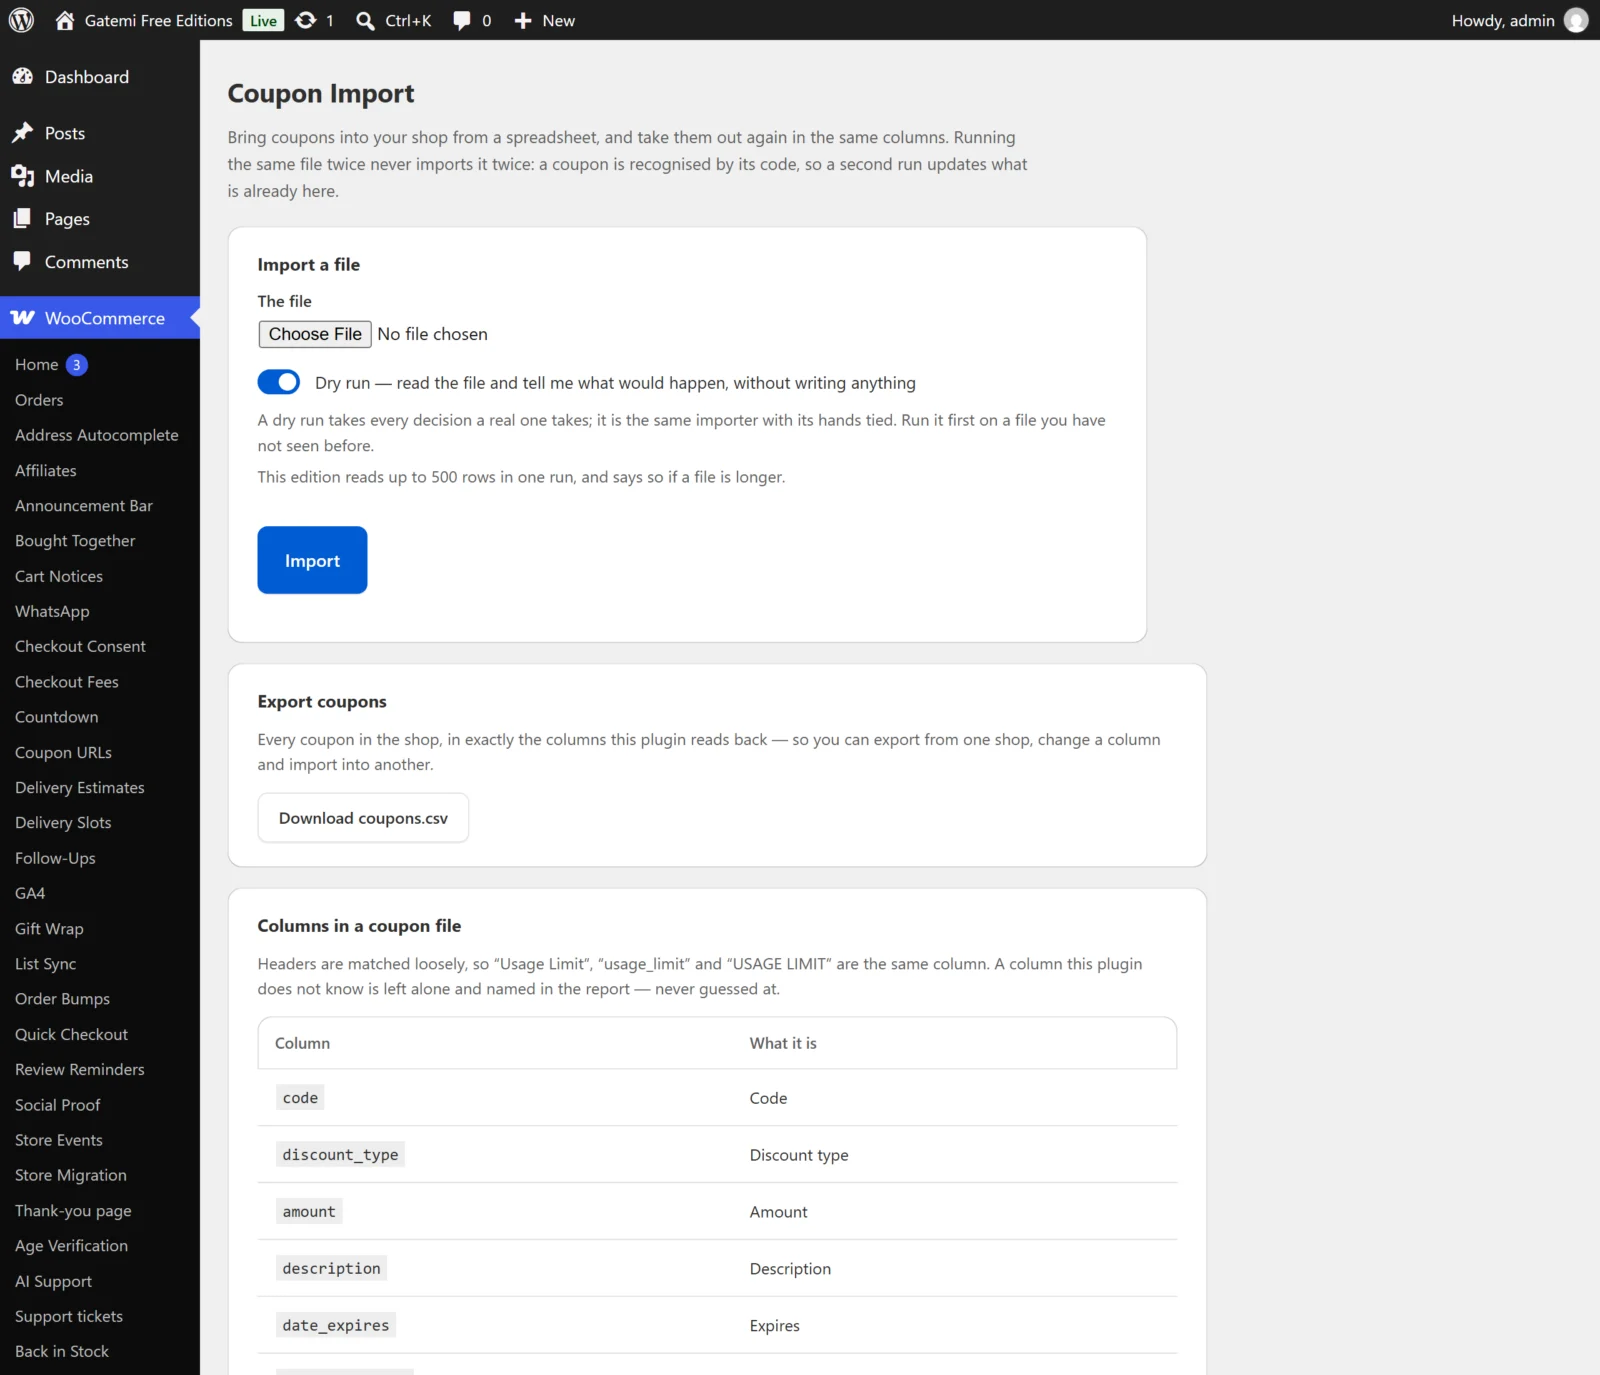
The screen has, from top to bottom: Import a file, Export coupons, the table of columns a file may carry, Settings, and (full edition) the licence card.
3. Get a file in the right shape
The quickest way to see the format is to export what you already have:
- Under Export coupons, press Download coupons.csv.
- Open it in your spreadsheet program. The first row holds the column names the importer reads —
code,discount_type,amountand so on. - Add or change rows and save it as CSV.
The full list of columns, for coupons and for orders, is on the CSV import page.
4. Run a dry run first
- Under Import a file, choose the file.
- Full edition: set What is in it to Coupons or Orders.
- Leave Dry run ticked. It is ticked by default.
- Press Import.
A dry run reads the file, matches the columns, checks every discount type, status and product, and decides for each row whether it would create, update or skip — and writes nothing. The report at the top of the screen says, for example:
Dry run: 120 rows read — 112 would be created, 6 updated, 2 skipped. Nothing was written.
Below that, a table lists every problem with the line in your file it is on, so you can open the spreadsheet and fix that one cell. Any column header the plugin did not recognise is named too.
5. Import for real
When the dry run looks right, untick Dry run, choose the file again (a browser does not keep a chosen file after the page reloads) and press Import. The report now reads "… created, … updated, … skipped" without the "Dry run" prefix.
6. Check it worked
- Coupons: go to Marketing → Coupons and open one you imported.
- Full edition orders: go to WooCommerce → Orders. Each imported order carries your reference in the
_gmoi_reforder meta. - Run the same file again as a dry run. Every row should now say "would be updated", not "would be created". That is the idempotency rule at work: a coupon is recognised by its code, and an order by its reference.
Before you import orders — Full edition
Read How it works first. Two things matter on a live shop:
- An order imported with a status such as processing or completed goes through WooCommerce's normal status change, so WooCommerce may send the customer its usual order email and reduce stock. Try a small file on a staging copy first.
- Totals are taken from the file and never recalculated, so give each order an
order_total.