
Gatemi Order Export downloads your WooCommerce orders as a CSV file: you tick the columns you want, narrow the orders down by status and date, and press Download CSV. The file opens in Excel, Numbers or Google Sheets with accented names intact, and every cell is protected against spreadsheet formula injection.
There are two editions, and this manual covers both:
- Gatemi Order Export — the free edition. Order, billing and shipping columns, status and date filters, one row per order.
- Gatemi Order Export for WooCommerce — the full edition, sold on gatemi.com. It adds item columns (one row per order line), more order fields, a product filter, saved profiles and scheduled email delivery, daily or weekly, plus a filter for adding your own columns.
Requirements
Both editions need:
- WordPress 6.4 or later
- PHP 7.4 or later
- WooCommerce 8.0 or later (tested up to 10.9)
Both read orders through WooCommerce's own wc_get_orders(), so they work the same with High-Performance Order Storage (HPOS) on or off. They have nothing on the storefront.
Install the free edition
The free edition is coming to wordpress.org. Once it is listed there:
- Go to Plugins → Add New.
- Search for "Gatemi Order Export".
- Click Install Now, then Activate.
Install the full edition
- Sign in to your gatemi.com account and download the plugin zip.
- Go to Plugins → Add New → Upload Plugin, choose the zip, then Install Now and Activate.
- Go to WooCommerce → Order Export and find License & updates.
- Paste your licence key (
GM-XXXXX-XXXXX-XXXXX-XXXXX-XXXXX) and click Activate for one-click updates.
The free edition stands down while the full edition is active.
Your first export
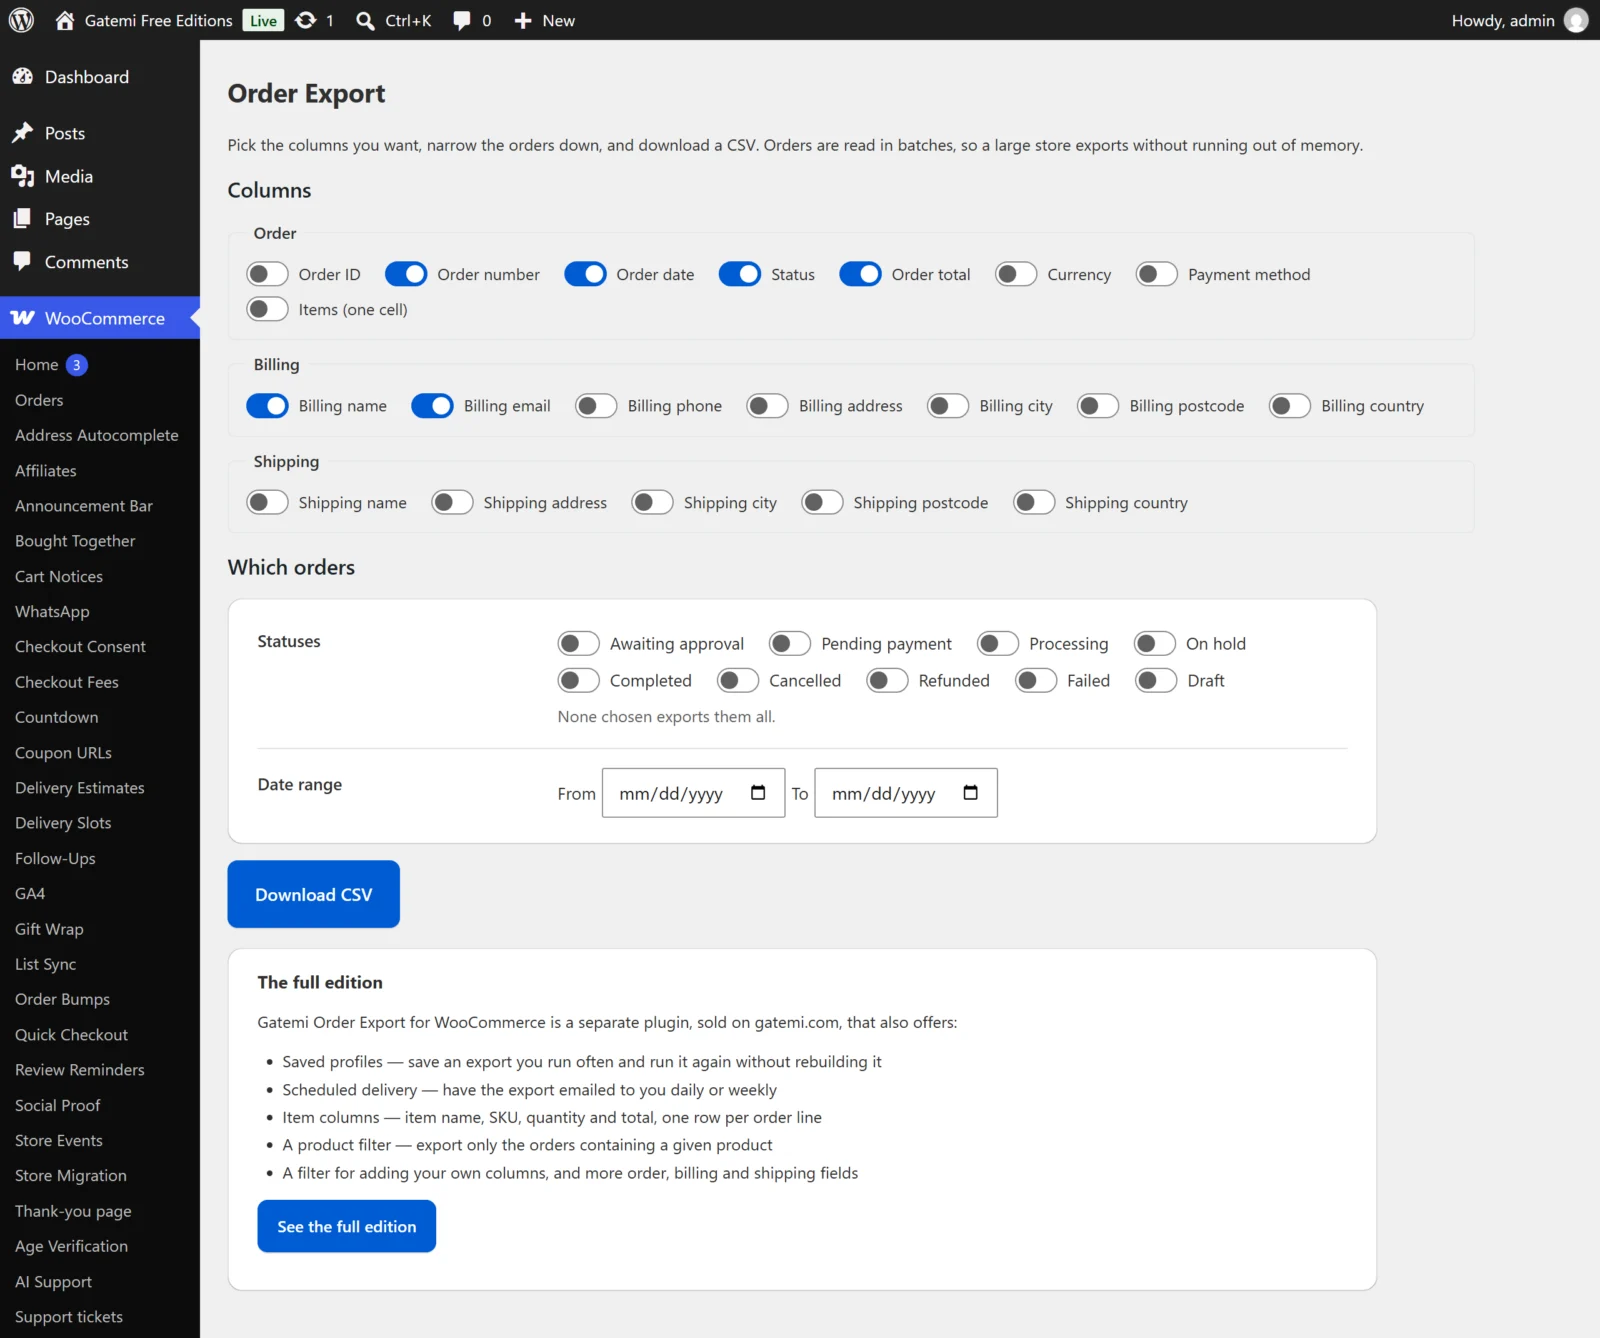
- Go to WooCommerce → Order Export.
- Under Columns, tick the columns you want. A sensible set is already ticked: Order number, Order date, Status, Billing name, Billing email and Order total (the full edition adds Payment method).
- Under Which orders:
- tick one or more Statuses (for example Processing), or none for all statuses;
- optionally choose a From and To date. Both are inclusive.
- Full edition: optionally enter Containing product ID to export only orders that include that product (or variation).
- Click Download CSV. Your browser saves a file named like
orders-20261020-141502.csv.
Check the file
Open it in your spreadsheet:
- The first row holds the column names you ticked, in the order shown on the screen.
- There is one row per order, oldest first.
- Full edition: if you ticked any item column (Item name, Item SKU, Item quantity, Item total), there is one row per order line instead, with the order's other columns repeated on each.
- Names with accents (é, ñ, ü) read correctly, because the file starts with a UTF-8 marker that tells Excel which encoding it is.
Save it as a profile — Full edition
- Set up the columns and filters as above.
- Under Save this as a profile, give it a Name (for example "Monday shipping list").
- To have it emailed, choose Every day or Every Monday under Email it to me, and type an address in Send to (left empty, it goes to the store's admin address).
- Click Save profile. It appears under Saved profiles, with Download to run it now and Edit to change it.
To have every fresh export start from the columns you ticked, click Start every export from these columns.
A scheduled profile is emailed as a CSV attachment. Read How it works for when it runs and what it contains.
Next
- Settings — every column and filter.
- How it works
- FAQ and troubleshooting
- Developer reference