
Gatemi Product Tabs adds your own tabs to product pages — a size guide, shipping details, care instructions, a warranty — next to WooCommerce's Description, Additional information and Reviews tabs.
These docs cover both editions:
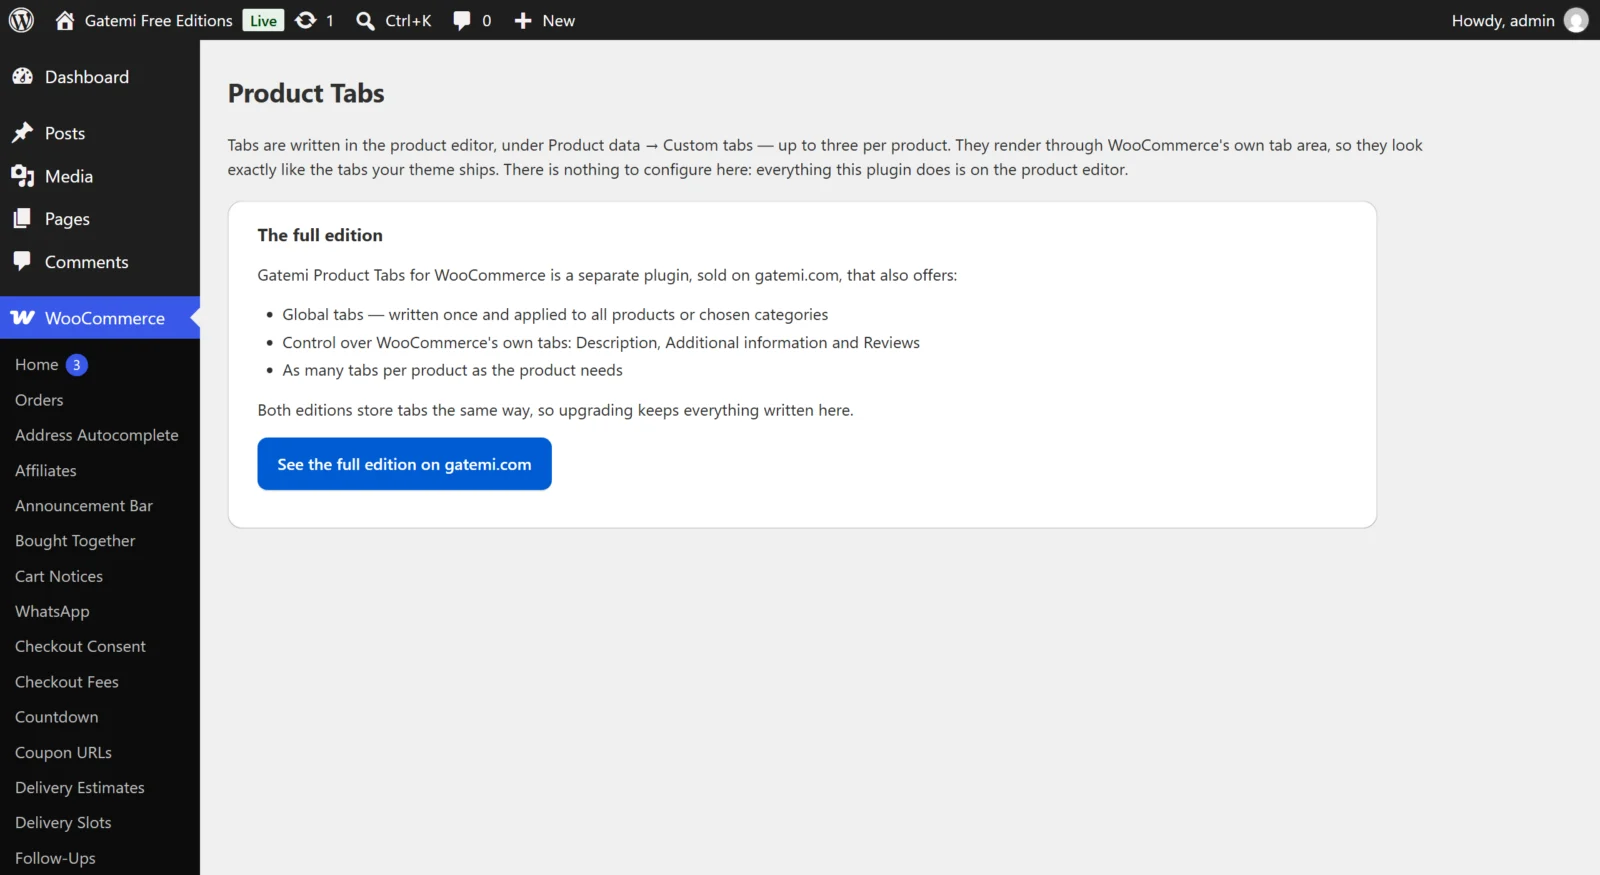
- Gatemi Product Tabs — the free edition, coming to wordpress.org. Up to three tabs per product, written in the product editor.
- Gatemi Product Tabs for WooCommerce — the full edition, sold on gatemi.com. As many tabs per product as you need, global tabs written once for all products or chosen categories, and on/off switches for WooCommerce's own three tabs.
Anything marked Full edition is only in the paid plugin.
Requirements
| Free edition | Full edition | |
|---|---|---|
| WordPress | 6.4 or later | 6.4 or later |
| PHP | 7.4 or later | 7.4 or later |
| WooCommerce | 8.0 or later | 8.0 or later |
Both editions declare compatibility with High-Performance Order Storage (HPOS) and with the Cart and Checkout blocks. Neither loads any CSS or JavaScript on the storefront: your theme styles the tabs.
1. Install
Free edition: coming to wordpress.org. Until it is listed, install the zip through Plugins → Add New → Upload Plugin and activate it.
Full edition: download the zip from your gatemi.com account, go to Plugins → Add New → Upload Plugin, upload and activate. Then open WooCommerce → Product Tabs and enter your licence key in the License & updates card. The plugin works without a key; the key switches on one-click updates and support.
You only need one edition. If both are active, the free edition stands down and says so in a row under its entry on the Plugins screen. Both store per-product tabs in the same place, so nothing is shown twice.
2. Write a tab
- Go to Products and edit a product.
- In the Product data box, open the Custom tabs section.
- Free edition: fill in Tab 1 title and Tab 1 content. Full edition: press Add tab, then fill in Tab title and Tab content.
- Press Update.
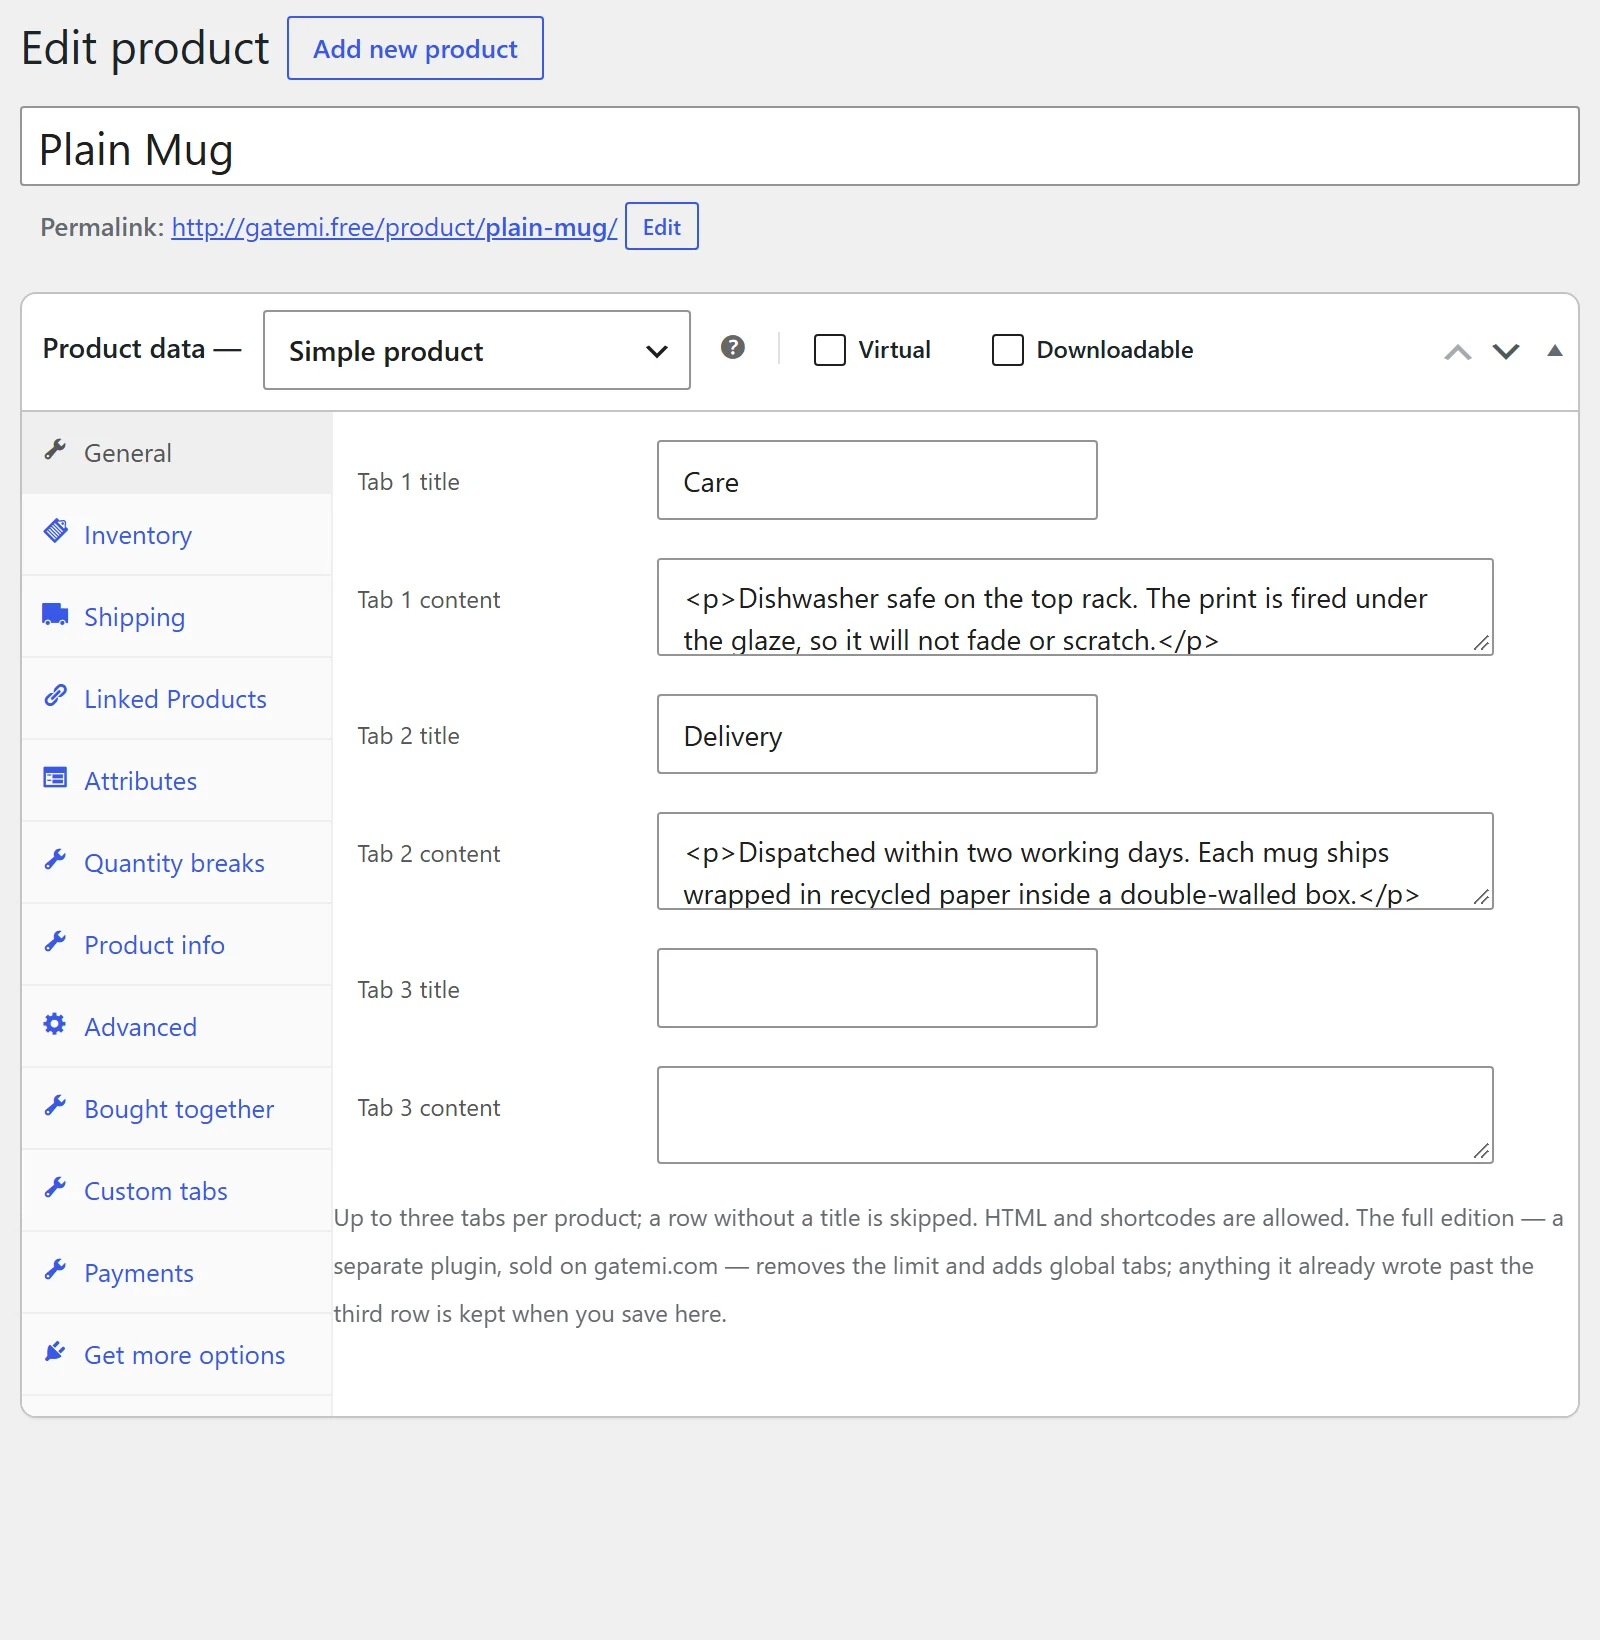
A row without a title is skipped. The content may hold HTML and shortcodes; line breaks become paragraphs.
3. Check it
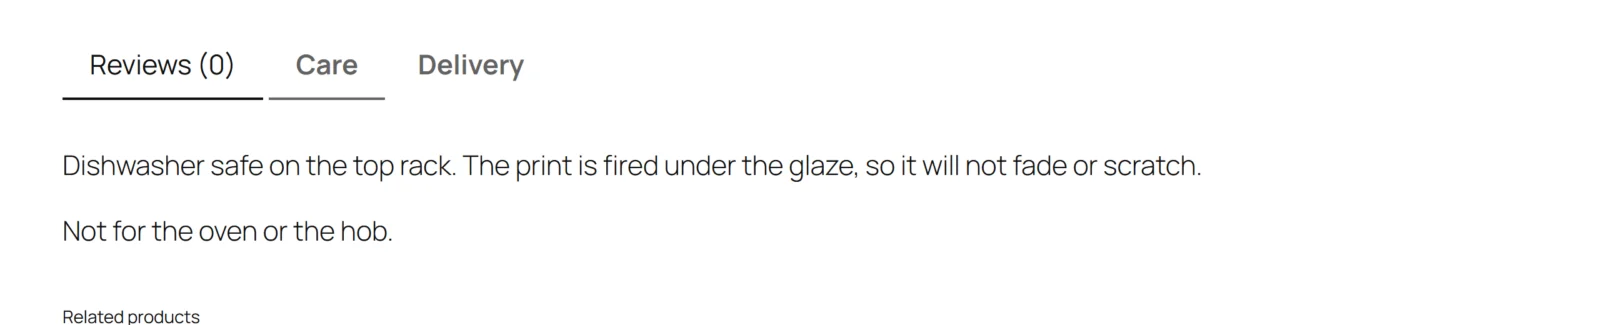
Open the product page. Your tab sits after WooCommerce's own tabs, with the title you typed, and looks exactly like them — it is printed through the same tab area your theme already styles.
4. Full edition: a tab for many products
- Go to Products → Global Product Tabs → Add global product tab (also reachable from WooCommerce → Product Tabs → Manage global tabs).
- Give it a title and write its content in the editor.
- In the Where this tab appears box, leave All products ticked, or untick it and choose categories under Or only these categories.
- Publish it.
Every product it applies to now shows it, after that product's own tabs.
Next steps
- Settings
- How it works — ordering, global tabs and the safety rules for tab content.
- FAQ and troubleshooting
- Developer reference