
Gatemi List Sync puts the customers who ticked your consent box at the checkout into your Mailchimp audience or your Brevo list. It comes in two editions that share one settings screen and one set of order records:
- Gatemi List Sync — the free edition. Both providers, the consent box in your own words, and the email address plus first and last name of each customer who said yes.
- Gatemi List Sync for WooCommerce — the full edition, sold on gatemi.com. Everything above, plus order count, total spent and last order date on every contact, your own tags, a tag per category bought from, and a choice of which order status counts as a customer.
Requirements
Both editions need:
- WordPress 6.4 or newer
- PHP 7.4 or newer
- WooCommerce 8.0 or newer (tested up to 10.9)
- A Mailchimp or Brevo account, and an API key from it
Both declare compatibility with WooCommerce's High-Performance Order Storage (HPOS) and with the Cart and Checkout blocks. The consent box appears on the Checkout block through WooCommerce's own additional-checkout-fields API, which needs WooCommerce 8.9 or newer; on an older WooCommerce the box appears on the classic checkout only.
Install
Free edition
The free edition is coming to wordpress.org. Until it is listed there, there is nothing to install from the plugin directory.
Full edition
- Sign in to your gatemi.com account and download the Gatemi List Sync for WooCommerce zip.
- In WordPress, go to Plugins → Add New → Upload Plugin, choose the zip and press Install Now, then Activate.
- Go to WooCommerce → List Sync. At the bottom of the screen, under License & updates, paste your licence key (it looks like
GM-XXXXX-XXXXX-XXXXX-XXXXX-XXXXX) and press Activate. The licence switches on one-click updates and support; the plugin itself works without one.
If the free edition is also active, it stands down while the full edition runs: it wires nothing, and a line under its entry on the Plugins screen says so. You can deactivate it. See moving between editions.
First setup
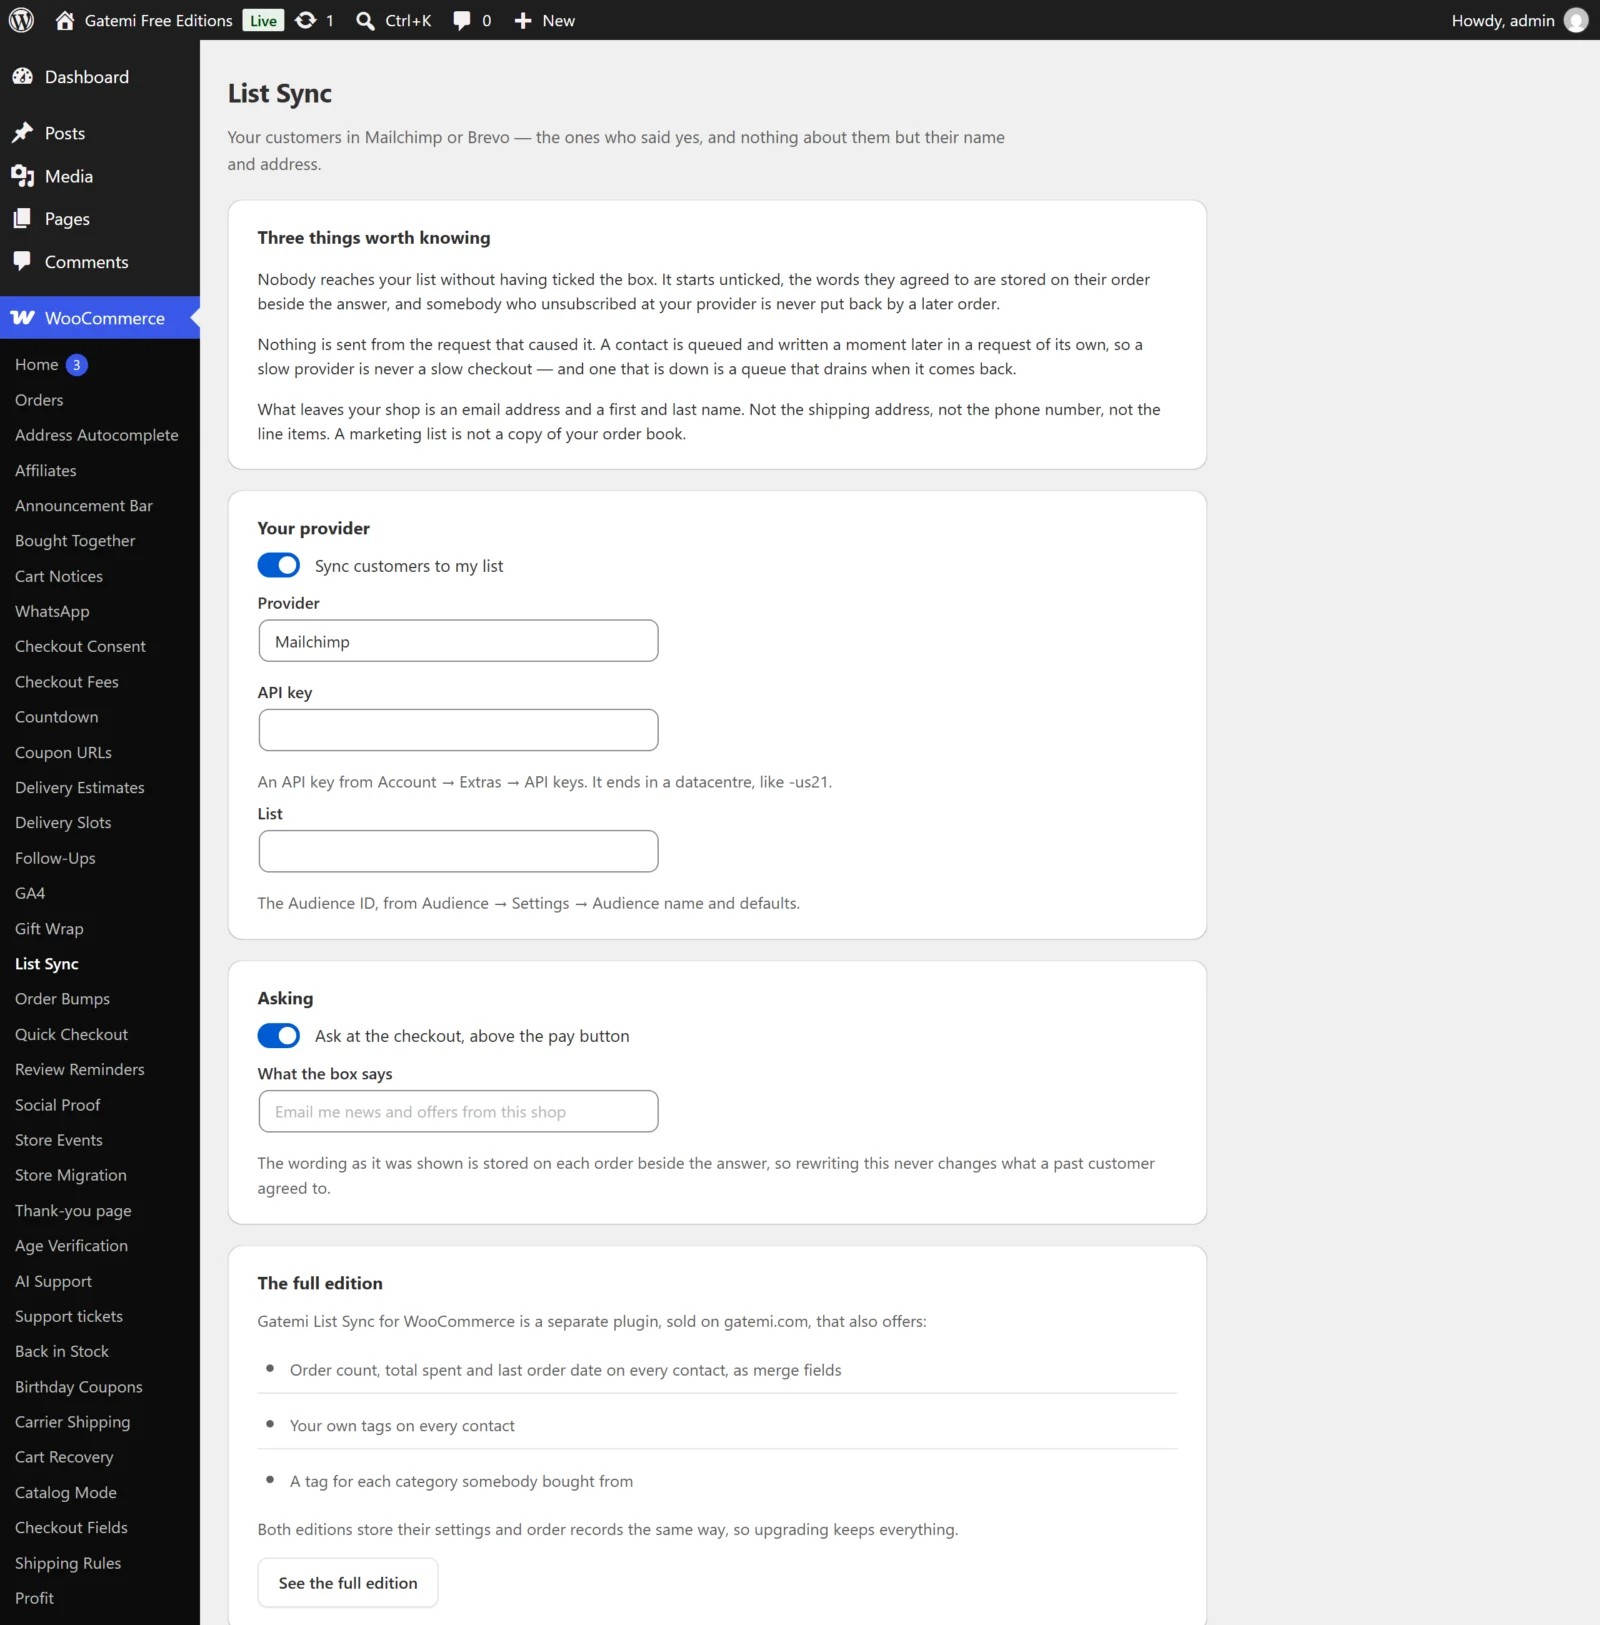
- Go to WooCommerce → List Sync.
- Under Your provider, leave Sync customers to my list ticked.
- Choose Mailchimp or Brevo in Provider.
- Paste your API key:
- Mailchimp: from Account → Extras → API keys. A Mailchimp key ends in a datacentre, like
-us21— the plugin reads the address it writes to from that ending, so paste the whole key. - Brevo: a v3 API key from SMTP & API → API keys.
- Mailchimp: from Account → Extras → API keys. A Mailchimp key ends in a datacentre, like
- Fill in List:
- Mailchimp: the Audience ID, from Audience → Settings → Audience name and defaults.
- Brevo: the numeric list id, from Contacts → Lists.
- Under Asking, leave Ask at the checkout, above the pay button ticked, and type the sentence your customers will see in What the box says. Left empty, the box says "Email me news and offers from this shop".
- Press Save changes.
When the key and list are usable, the screen says "Contacts will be written to host, and nowhere else." — for example us21.api.mailchimp.com or api.brevo.com. If instead it says the key and list are not enough to write anything yet, check that the whole key was pasted; nothing is queued until this message turns into the first one.
Full edition: the screen also has a section What goes with them and a Sync when an order reaches list. See Settings. If you use the purchase fields, create the merge fields or attributes they are written to at your provider first — see How it works.
Check it works
- Open your shop in a private window and place a test order with an email address you control.
- On the checkout, tick the consent box above the pay button. It is never ticked for you.
- Move the order to the status that triggers a sync:
- free edition: Completed;
- full edition: the status chosen in Sync when an order reaches (default Processing).
- Back on WooCommerce → List Sync, look at Waiting to be written. A contact usually leaves the queue within a few seconds; "Nothing is waiting" means it has been written.
- Look for the address in your Mailchimp audience or Brevo list.
If the address is still listed under Waiting to be written, the reason the provider gave is printed beside it. Press Write these now to try again immediately. The most common causes are in FAQ and troubleshooting.
A customer who did not tick the box is not sent anywhere, and an order that was already synced once is never synced again — so to test twice, use a new order.