
Gatemi Gift Wrap adds two things to your cart and checkout: a tick box that says "wrap it as a gift", and a box for a gift message. The wrapping charge is added as a WooCommerce fee — not as a product in the cart — and the gift is written onto the order where the person packing the box will see it.
There are two editions:
- Gatemi Gift Wrap — the free edition. One flat charge for the whole order, the tick box, the gift message and its length limit.
- Gatemi Gift Wrap for WooCommerce — the full edition, sold on gatemi.com. It adds a charge per item in the cart, taxable wrapping in the tax class you choose, your own wording for the heading, the message label and the charge line, and a filter for offering wrapping only on some orders. See the product page.
Both editions store their settings and order data in the same place, so moving from one to the other keeps everything.
Requirements
- WordPress 6.4 or later
- PHP 7.4 or later
- WooCommerce 8.0 or later (tested up to 10.9)
- Works with High-Performance Order Storage (HPOS) and the Cart & Checkout blocks. On the Checkout block the gift fields need WooCommerce 8.9 or later — see How it works.
Install
Free edition. Gatemi Gift Wrap is coming to wordpress.org. Until then it is installed from its zip file:
- Go to Plugins → Add New Plugin → Upload Plugin.
- Choose the
gatemi-gift-wrap.zipfile and click Install Now. - Click Activate.
Full edition.
- Download the zip from your gatemi.com account.
- Upload and activate it the same way.
- Go to WooCommerce → Gift Wrap, scroll to License & updates, paste your licence key (it looks like
GM-XXXXX-XXXXX-XXXXX-XXXXX-XXXXX) and click Activate. The key switches on one-click updates and support.
If both editions are installed, the free one stands by and does nothing; a line under it on the Plugins screen says so. You can deactivate it. Running both would add two gift-wrap fees to one order, which is why the free one stands down.
First setup
- Go to WooCommerce → Gift Wrap. (The full edition also lists the screen under the Gatemi menu.)
- Leave Offer gift wrapping ticked.
- Type what wrapping costs into What it costs (full edition: Charge), for example
3.50. A comma works too:3,50is read as three fifty. Leave it at0to wrap for free. - Optionally change What the tick box says. Left empty it reads "Wrap it as a gift". The price is added to the end automatically.
- Leave Let shoppers write a gift message ticked if you put a card in the box, and set How long a message may be, in characters to what fits on your card (default 200, at most 1,000).
- Click Save.

Check it works
- Add a product to the cart and open the cart page.
- Below the cart totals you should see a box headed Is this a gift? with the tick box and, if enabled, the gift message field.
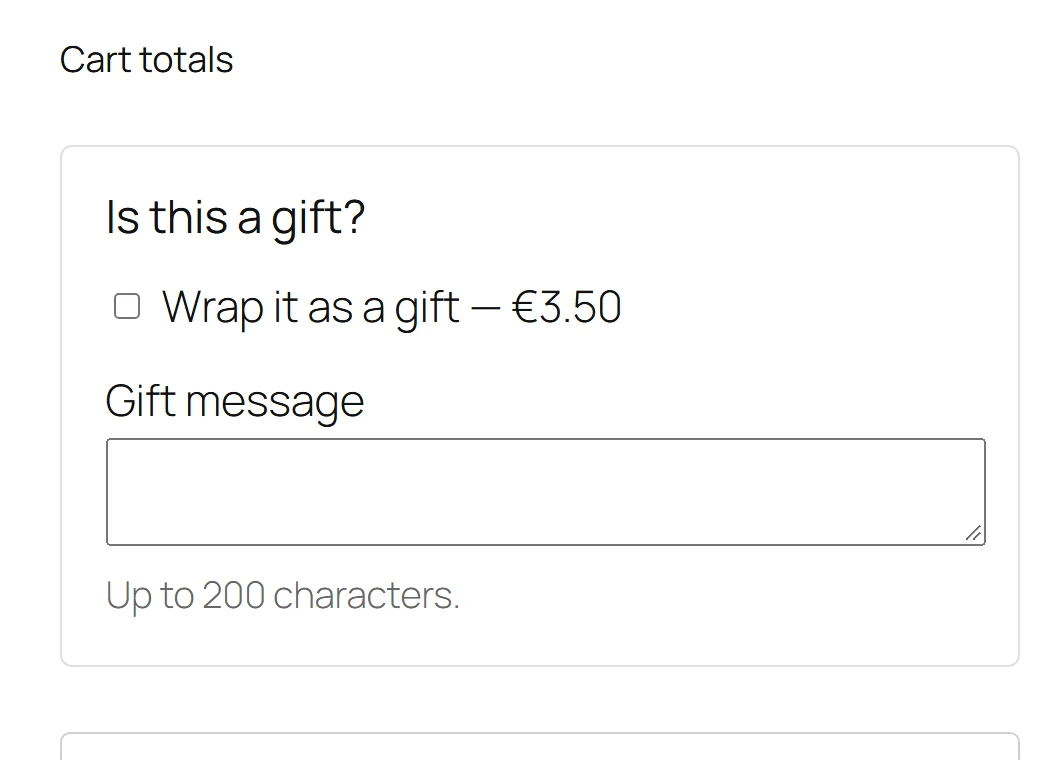
- Tick the box, type a message, and click Update cart. A Gift wrapping fee line appears in the totals (unless wrapping is free).
- Untick it and update again: the fee disappears.
- Place a test order with the box ticked. Open it under WooCommerce → Orders: a Gift box in the sidebar shows "Gift wrapping: yes" and the message, line breaks kept. The admin's new-order email and the customer's confirmation show the same.
On the classic checkout page the same box appears above the order notes, and the fee updates as soon as the box is ticked. On a block-based cart and checkout the fields appear in the checkout's Order information step instead — see the next pages.
Next: Settings · How it works · FAQ and troubleshooting