
Gatemi Quick Checkout shortens the way from a product page to a paid order. It prints a Buy now button beside Add to cart that adds the product and goes straight to the checkout, and can send every add-to-cart to the checkout instead of the cart page.
It does this without bypassing anything: the button submits your theme's own add-to-cart form, so variations, quantities, product options and other plugins' rules apply exactly as before.
These docs cover both editions:
- Gatemi Quick Checkout — the free edition, coming to wordpress.org. The Buy now button, the skip-the-cart redirect and a per-product override.
- Gatemi Quick Checkout for WooCommerce — the full edition, sold on gatemi.com. Adds limiting the short route to chosen categories, sending the cart page to the checkout, a one-page checkout shortcode, and a filter for the destination.
Anything marked Full edition is only in the paid plugin.
Requirements
| Free edition | Full edition | |
|---|---|---|
| WordPress | 6.4 or later | 6.4 or later |
| PHP | 7.4 or later | 7.4 or later |
| WooCommerce | 8.0 or later | 8.0 or later |
Both editions declare compatibility with High-Performance Order Storage (HPOS) and with the Cart and Checkout blocks. Neither adds any JavaScript.
1. Install
Free edition: coming to wordpress.org. Until it is listed, install the zip through Plugins → Add New → Upload Plugin and activate it.
Full edition: download the zip from your gatemi.com account, go to Plugins → Add New → Upload Plugin, upload and activate. Then open WooCommerce → Quick Checkout and enter your licence key in the License & updates card. The plugin works without a key; the key switches on one-click updates and support.
You only need one edition. If both are active, the free edition stands down and says so on the Plugins screen. Both store settings and per-product overrides in the same place.
2. Check the settings
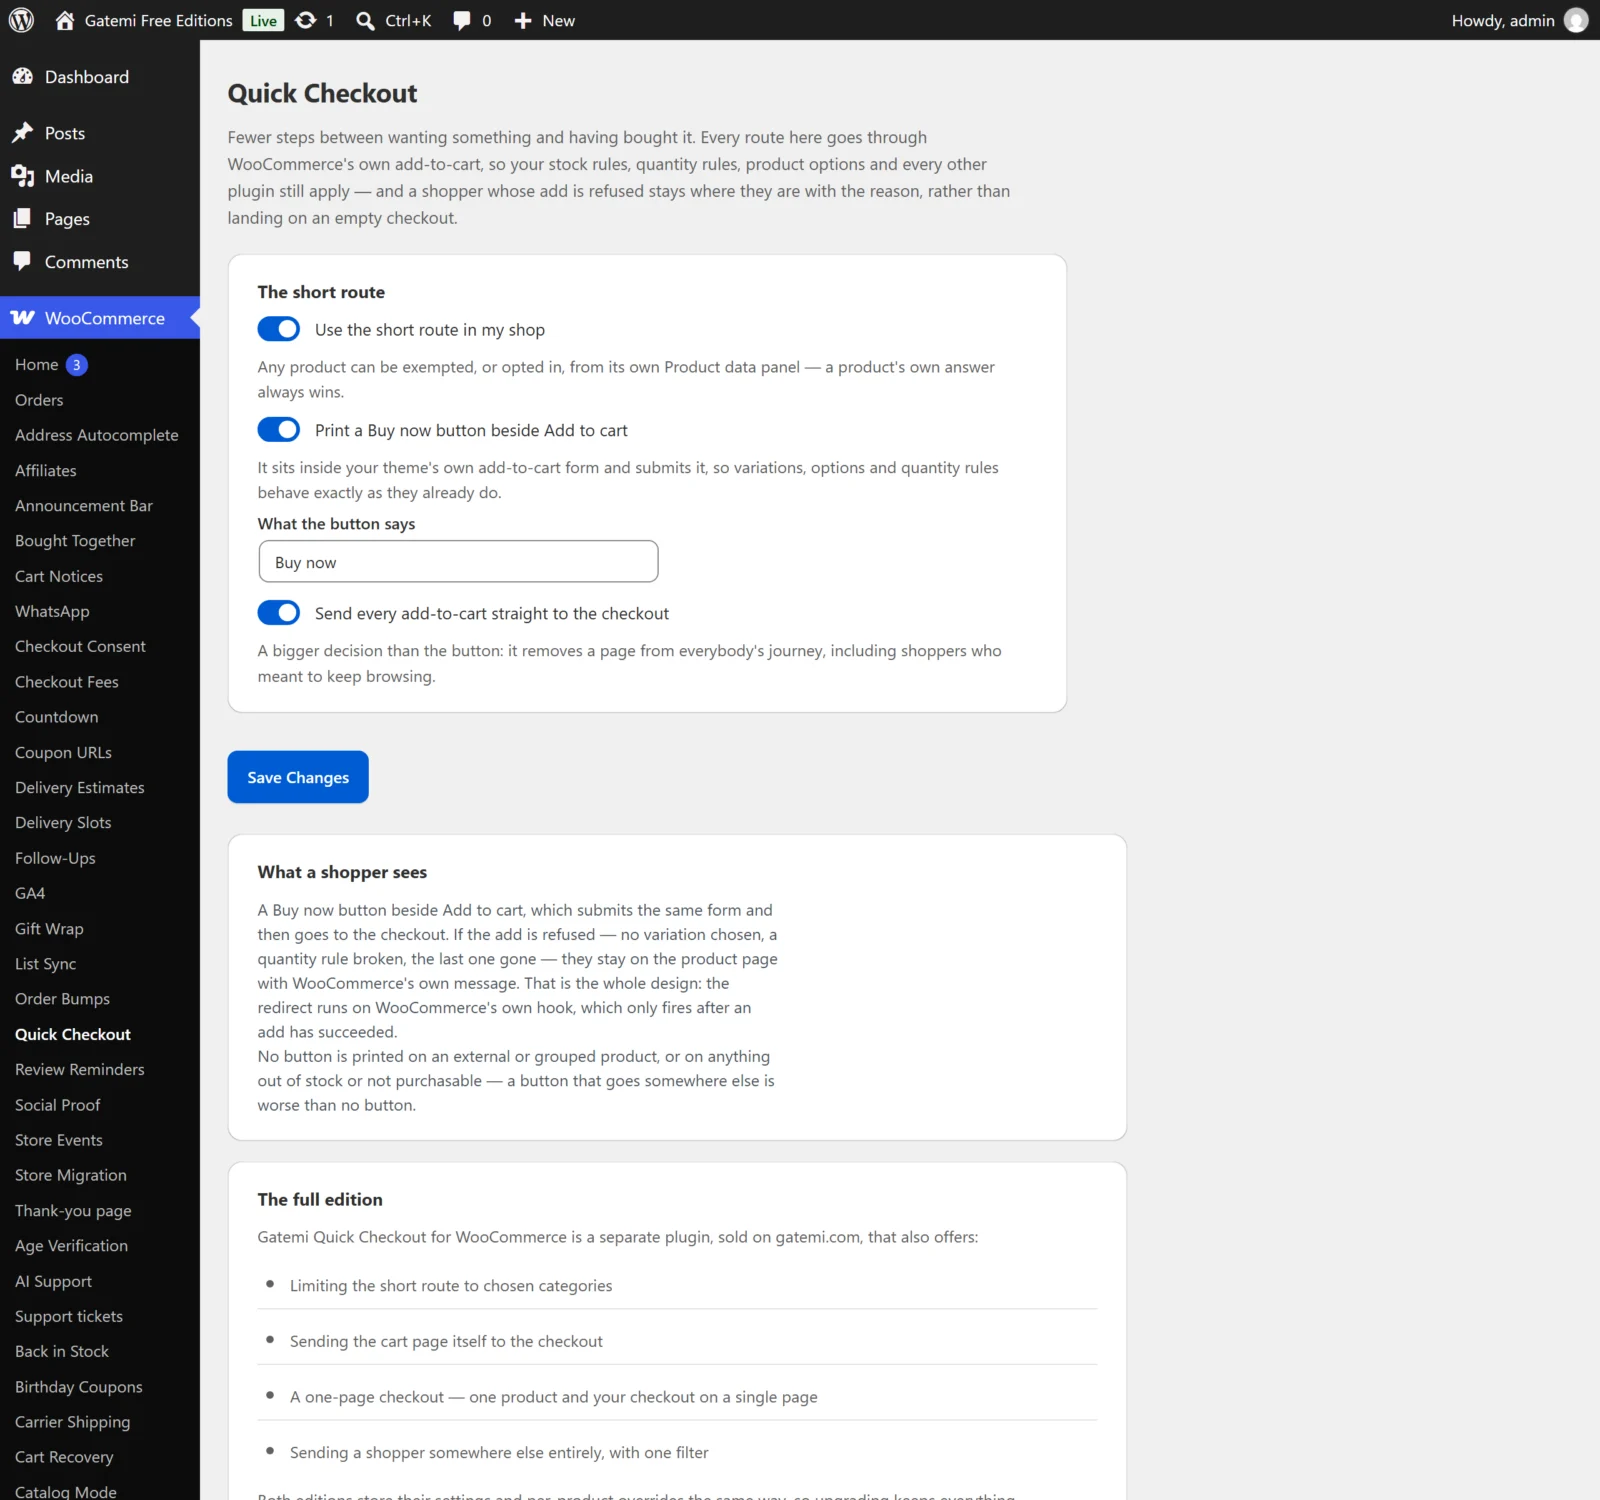
Go to WooCommerce → Quick Checkout (capability manage_woocommerce). Out of the box:
- Use the short route in my shop — on.
- Print a Buy now button beside Add to cart — on.
- Send every add-to-cart straight to the checkout — off.
So after activating, every product that can be bought shows a Buy now button, and Add to cart behaves as it always did.
3. Test it
- Open a simple product that is in stock.
- Beside Add to cart you see Buy now.
- Press Buy now. The product is added and you land on the checkout.
- Open a variable product and press Buy now without choosing a variation. You stay on the product page with WooCommerce's own message asking you to choose one. Choose one and press Buy now again: you go to the checkout with that variation.
- Press Add to cart on any product. You stay on the product page (or go to the cart, if WooCommerce is set to) — the normal route.
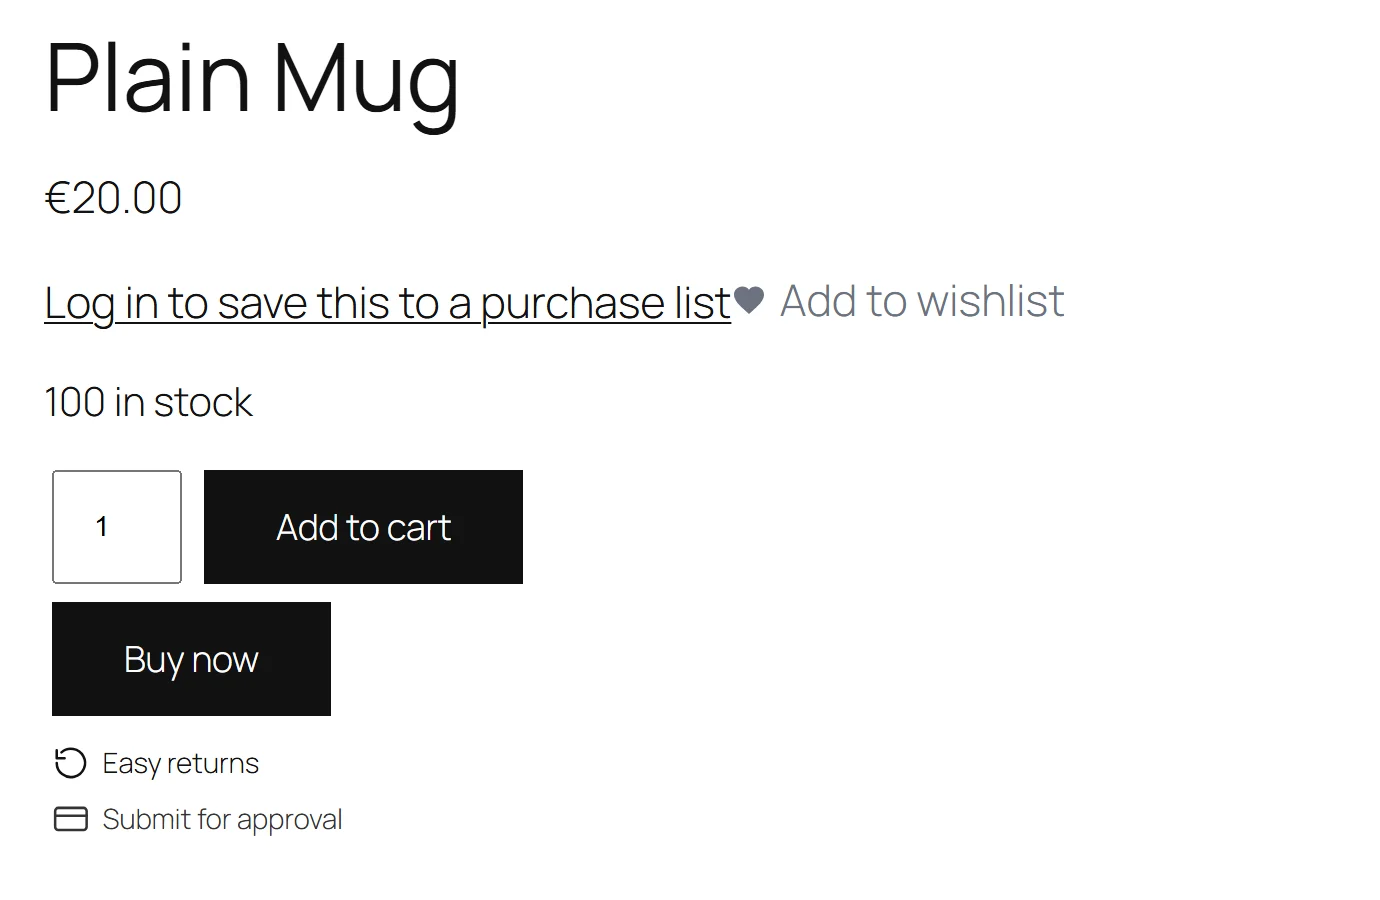
No Buy now button is shown on external or grouped products, or on a product that is out of stock or cannot be bought.
4. Exempt or opt in one product
- Edit the product. In Product data, open Advanced.
- Set Quick checkout to Follow the shop, Always take the short route or Never — use the normal cart.
- Update the product.
A product's own answer beats the shop-wide setting in both directions.
Next steps
- Settings
- How it works — why a refused add never lands on the checkout.
- FAQ and troubleshooting
- Developer reference