
Gatemi Product Discovery helps a shopper look at more products without losing their place:
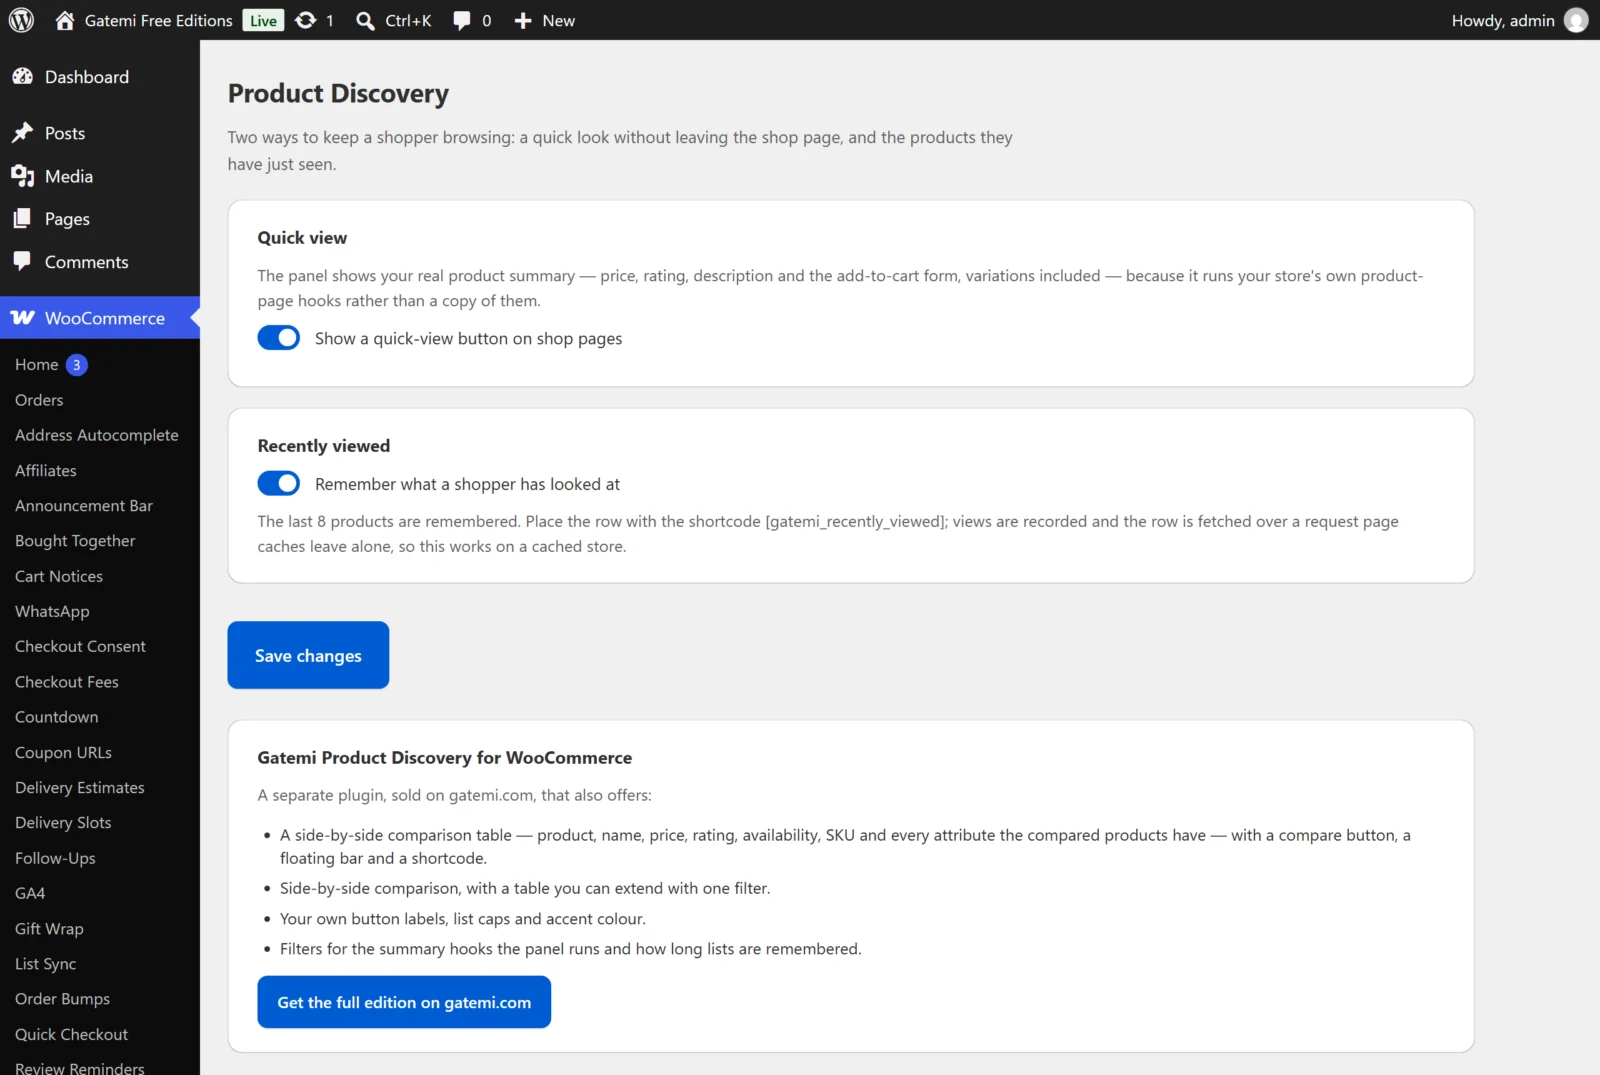
- Quick view — a button under each product on shop pages opens a panel with the product's real summary: price, rating, description and the add-to-cart form, variations included.
- Recently viewed — a row of the products the shopper has just looked at, placed with a shortcode.
- Compare (Full edition) — a side-by-side table of the products a shopper picked.
These docs cover both editions:
- Gatemi Product Discovery — the free edition, coming to wordpress.org. Quick view and recently viewed.
- Gatemi Product Discovery for WooCommerce — the full edition, sold on gatemi.com. Adds comparison, your own button labels, list sizes and an accent colour.
Requirements
| Free edition | Full edition | |
|---|---|---|
| WordPress | 6.4 or later | 6.4 or later |
| PHP | 7.4 or later | 7.4 or later |
| WooCommerce | 8.0 or later (tested to 10.9) | 8.0 or later (tested to 10.9) |
Both editions declare compatibility with High-Performance Order Storage (HPOS) and the Cart and Checkout blocks. The plugin needs JavaScript in the shopper's browser: the panel and the recently-viewed row are fetched after the page loads.
1. Install
Free edition: coming to wordpress.org. Until it is listed, install the zip through Plugins → Add New → Upload Plugin and activate it.
Full edition: download the zip from your gatemi.com account, upload it through Plugins → Add New → Upload Plugin and activate it. Then open WooCommerce → Product Discovery and enter your licence key in the License & updates card. The plugin works without a key; the key switches on one-click updates and support.
Use one edition at a time. If the full edition is active, the free edition stands down and says so in a row under its entry on the Plugins screen.
2. Check the settings
Go to WooCommerce → Product Discovery (you need the manage_woocommerce capability). Quick view and recently viewed are both on after activation, so there is nothing you have to change. The full edition also switches comparison on.
3. Place the recently viewed row
The row is not added to any page on its own. Put the shortcode where you want it:
- Edit the page, the product template or a widget area where the row should appear.
- Add a Shortcode block containing
[gatemi_recently_viewed]. - Save.
A common place is under the product description on product pages, or on the cart page.
4. Check it works
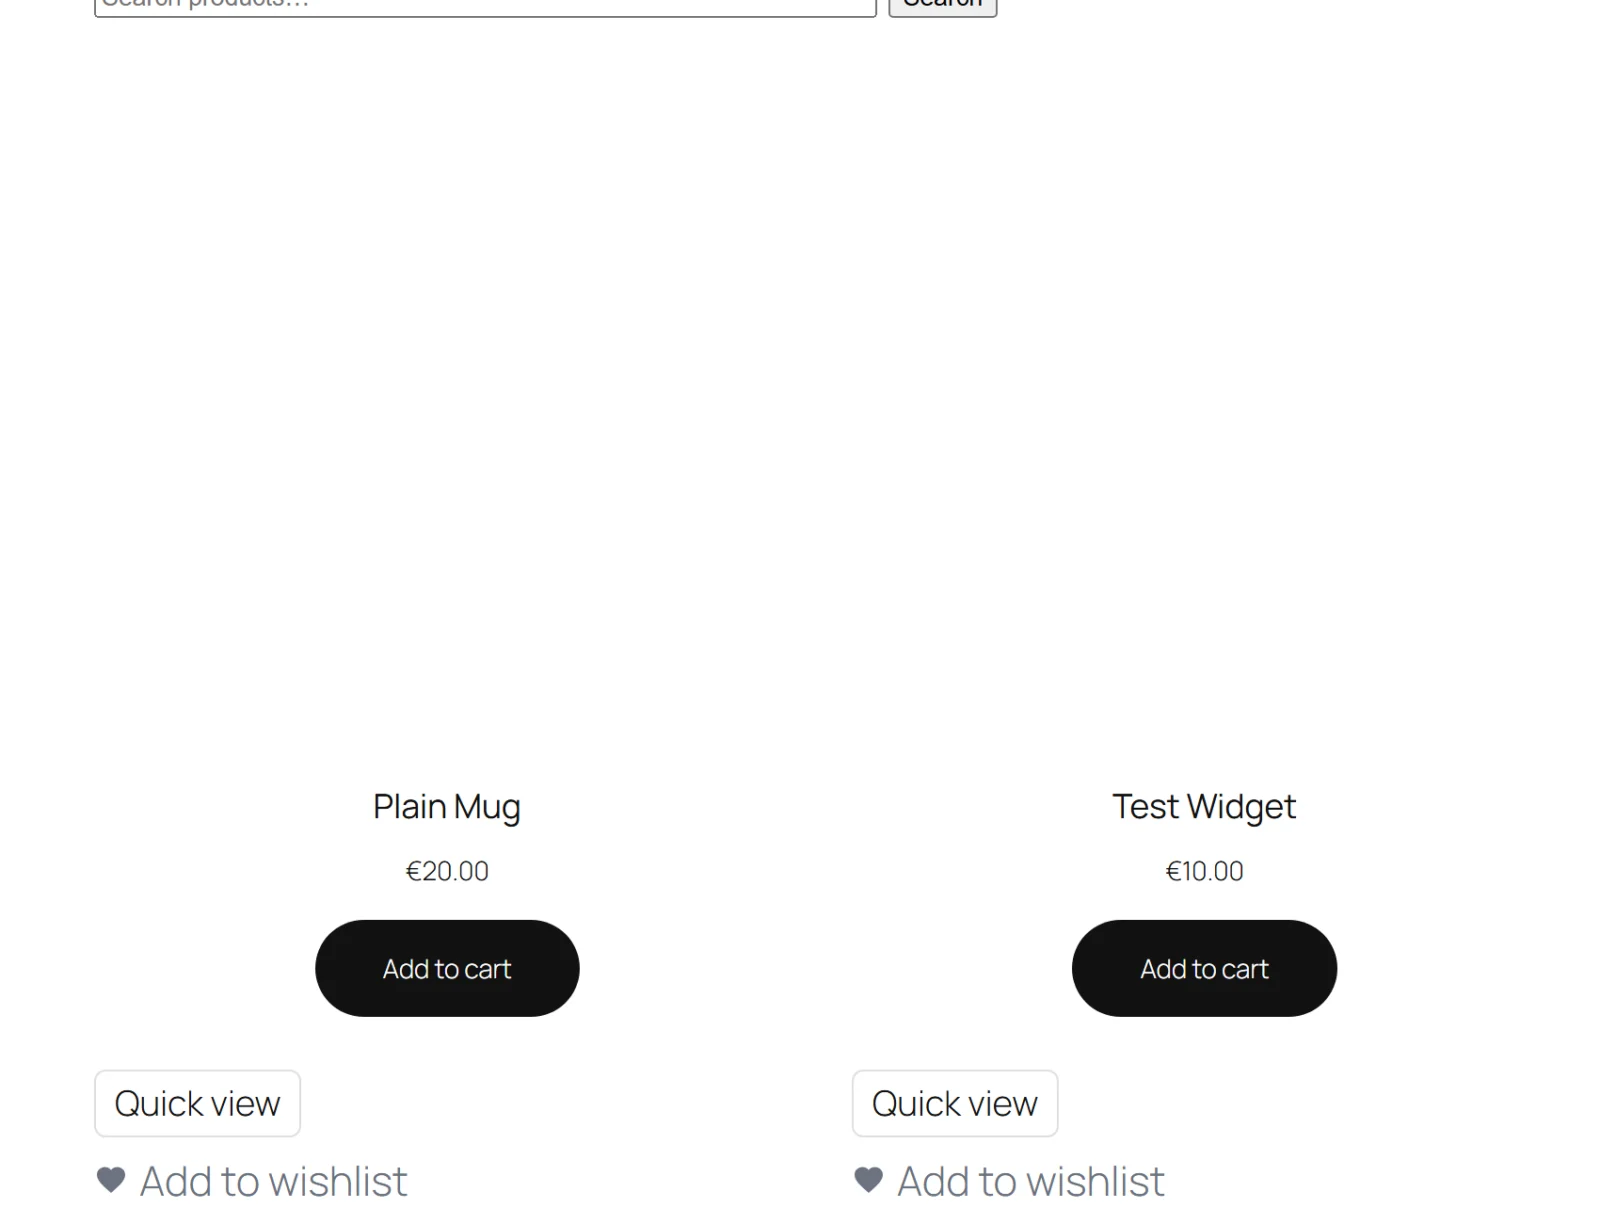
- Open your shop page. Under each product, after the add-to-cart button, there is a Quick view button.
- Press it. A panel opens with the product image, the summary and the add-to-cart form. Choose a variation on a variable product and add it to the cart from the panel.
- Open two or three product pages, then visit the page with
[gatemi_recently_viewed]. The row lists those products, newest first. On a product page the product you are looking at is left out of its own row.
Full edition: each product in the shop loop also has a Compare button. Press it on two products; a bar appears at the bottom of the page with the count. Press Compare in the bar to open the table.
Next steps
- Settings
- How it works — why it is safe on a cached store.
- FAQ and troubleshooting
- Developer reference