
Gatemi Name Your Price puts a price box on the products you choose. The shopper types what they want to pay, and the plugin checks that amount on the server before it goes into the cart. It suits donations, pay-what-you-want downloads, tips and made-to-order work.
There are two editions, and this manual covers both:
- Gatemi Name Your Price — the free edition. A per-product switch, a minimum and a suggestion.
- Gatemi Name Your Price for WooCommerce — the full edition, sold on gatemi.com. It adds a maximum, a band on each variation, a store-wide minimum, your own wording, and it takes the price out of the product's structured data. Things only it does are marked Full edition.
Requirements
| Free edition | Full edition | |
|---|---|---|
| WordPress | 6.4 or newer | 6.4 or newer |
| PHP | 7.4 or newer | 7.4 or newer |
| WooCommerce | 8.0 or newer (tested up to 10.9) | 8.0 or newer (tested up to 10.9) |
Both editions declare compatibility with WooCommerce's order storage (HPOS) and the Cart and Checkout blocks. Neither adds any storefront JavaScript.
Install
Free edition. The free edition is coming to wordpress.org. Until it is listed there, install it from a zip: go to Plugins → Add New → Upload Plugin, choose the zip, then Activate.
Full edition.
- Sign in to your gatemi.com account and download the plugin zip.
- Go to Plugins → Add New → Upload Plugin, upload the zip and click Activate.
- Go to WooCommerce → Name Your Price, scroll to License & updates, paste your licence key (it looks like
GM-XXXXX-XXXXX-XXXXX-XXXXX-XXXXX) and click Activate.
The licence switches on one-click updates. The plugin works without it.
If the full edition is active, the free edition stands down completely — both read the same settings and the same product fields, and two copies would print two price boxes into one form. The Plugins screen shows a line under the free edition explaining this. You can deactivate the free edition once the full edition is running; nothing is lost (see moving to the full edition).
First setup
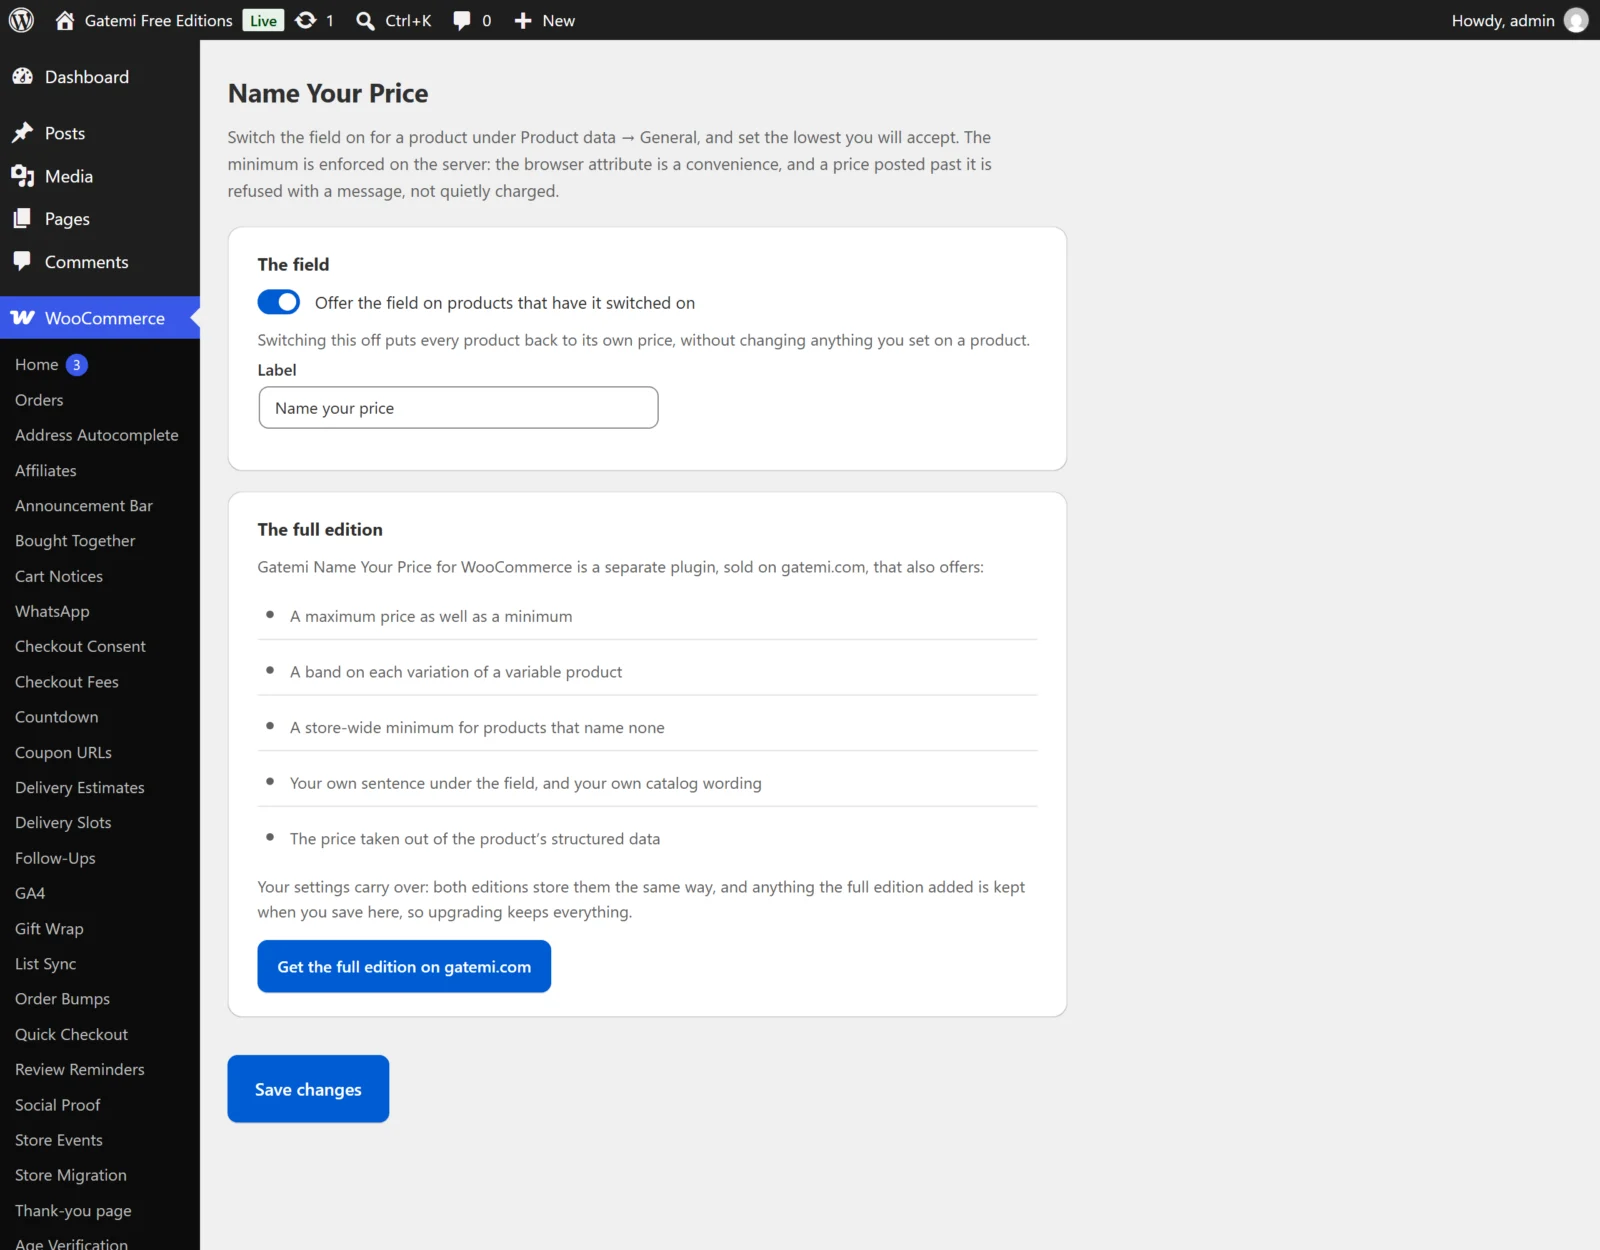
- Go to WooCommerce → Name Your Price. Check that Offer the field on products that have it switched on is ticked (it is by default) and click Save changes.
- Open a product: Products → All Products → Edit.
- In Product data → General, below the regular price, tick Name your price ("Let the shopper choose what to pay").
- Fill in Minimum price — the lowest you will accept — and, if you like, Suggested price. In the full edition there is also Maximum price. Leave any of them empty to have no rule there.
- Click Update.
The product's regular price stays as it is but is no longer what the shopper pays. Keep it filled in: WooCommerce treats a product with no price as not purchasable.
Full edition — variations. On a variable product, each variation in Product data → Variations has the same four fields. A variation with its own Name your price box ticked uses its own band; a variation without it uses the parent product's.
Check it works
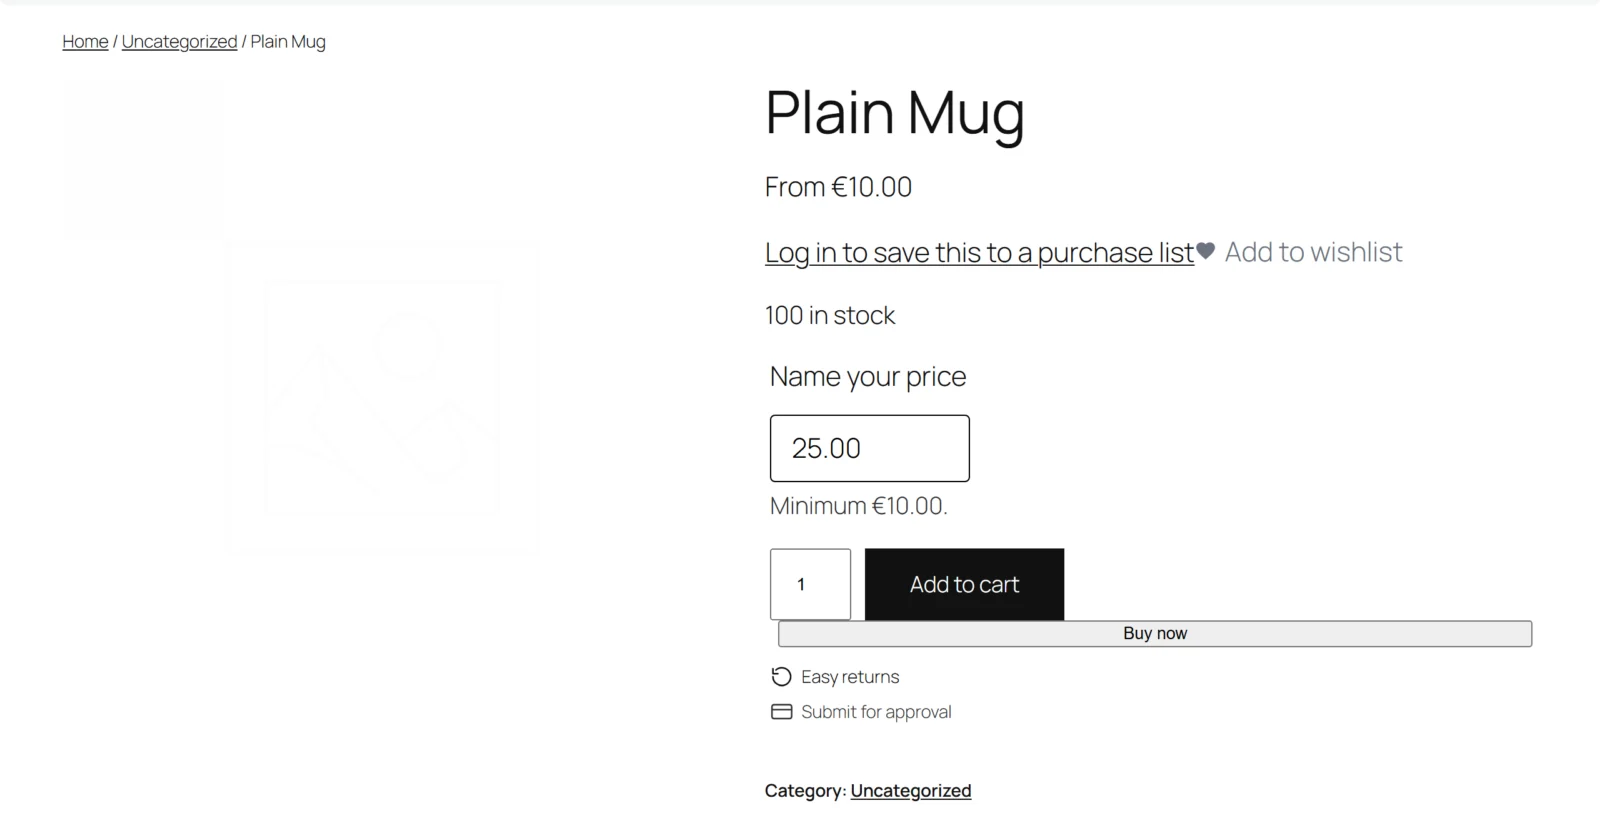
- Open the product in a private window.
- Where the price was, the catalog now shows From and your minimum (or "Name your price" when there is no minimum).
- Above the Add to cart button there is a box labelled Name your price, pre-filled with your suggestion, with "Minimum £5.00." (your figure) underneath.
- Type an amount below the minimum and add to cart. You should stay on the product page with the message "The lowest we can accept for this is £5.00." and nothing in the cart.
- Type an amount above the minimum and add to cart. The cart line now costs what you typed. In the full edition the cart line also shows the amount you chose under the product name.
- Place a test order. Open it in WooCommerce → Orders: the line's price is the amount the customer named. The plugin also stores that amount on the line as hidden item meta (
_gmnp_price), which the order screen does not display.
Next: every setting and how the price is checked.