
Gatemi Affiliates runs an affiliate programme inside your WooCommerce shop. A customer applies from My Account, you approve them, they share their own referral link, and every order that comes in through it earns them a commission. The commission is worked out once, when the order is placed, and written onto the order — so changing your rate later never changes what somebody has already earned.
The plugin never sends money. It keeps the ledger; you pay your affiliates the way you already pay people.
These docs cover both editions:
- Gatemi Affiliates — the free edition, on wordpress.org.
- Gatemi Affiliates for WooCommerce — the full edition, sold on gatemi.com.
Anything marked Full edition is only in the paid plugin.
Requirements
| Free edition | Full edition | |
|---|---|---|
| WordPress | 6.4 or later | 6.4 or later |
| PHP | 7.4 or later | 7.4 or later |
| WooCommerce | 8.0 or later | 8.0 or later |
Both editions declare compatibility with High-Performance Order Storage (HPOS) and with the Cart and Checkout blocks. Orders placed on the classic checkout and on the Checkout block are both attributed.
Pretty permalinks are recommended, because the affiliate dashboard is a My Account tab at /my-account/affiliates/.
1. Install
Free edition: go to Plugins → Add New, search for "Gatemi Affiliates", install and activate.
Full edition: download the zip from your gatemi.com account, upload it under Plugins → Add New → Upload Plugin and activate. Then open WooCommerce → Affiliates and enter your licence key in the License & updates card. The key switches on updates and support; the plugin works without it.
On activation the plugin creates two tables, wp_gmaf_affiliates and wp_gmaf_commissions (with your own database prefix), and adds the Affiliate tab to My Account.
Use one edition. If both are active, the free edition stands by and says so in a row under its entry on the Plugins screen. Both editions use the same tables, option, cookie and order meta.
2. Set up the programme
- Go to WooCommerce → Affiliates.
- In The programme, leave Run the affiliate programme and Let customers apply to join ticked.
- In What you pay, type the commission:
10%for ten per cent of the goods, or a plain amount such as5for a flat amount per order. - Press Save changes.
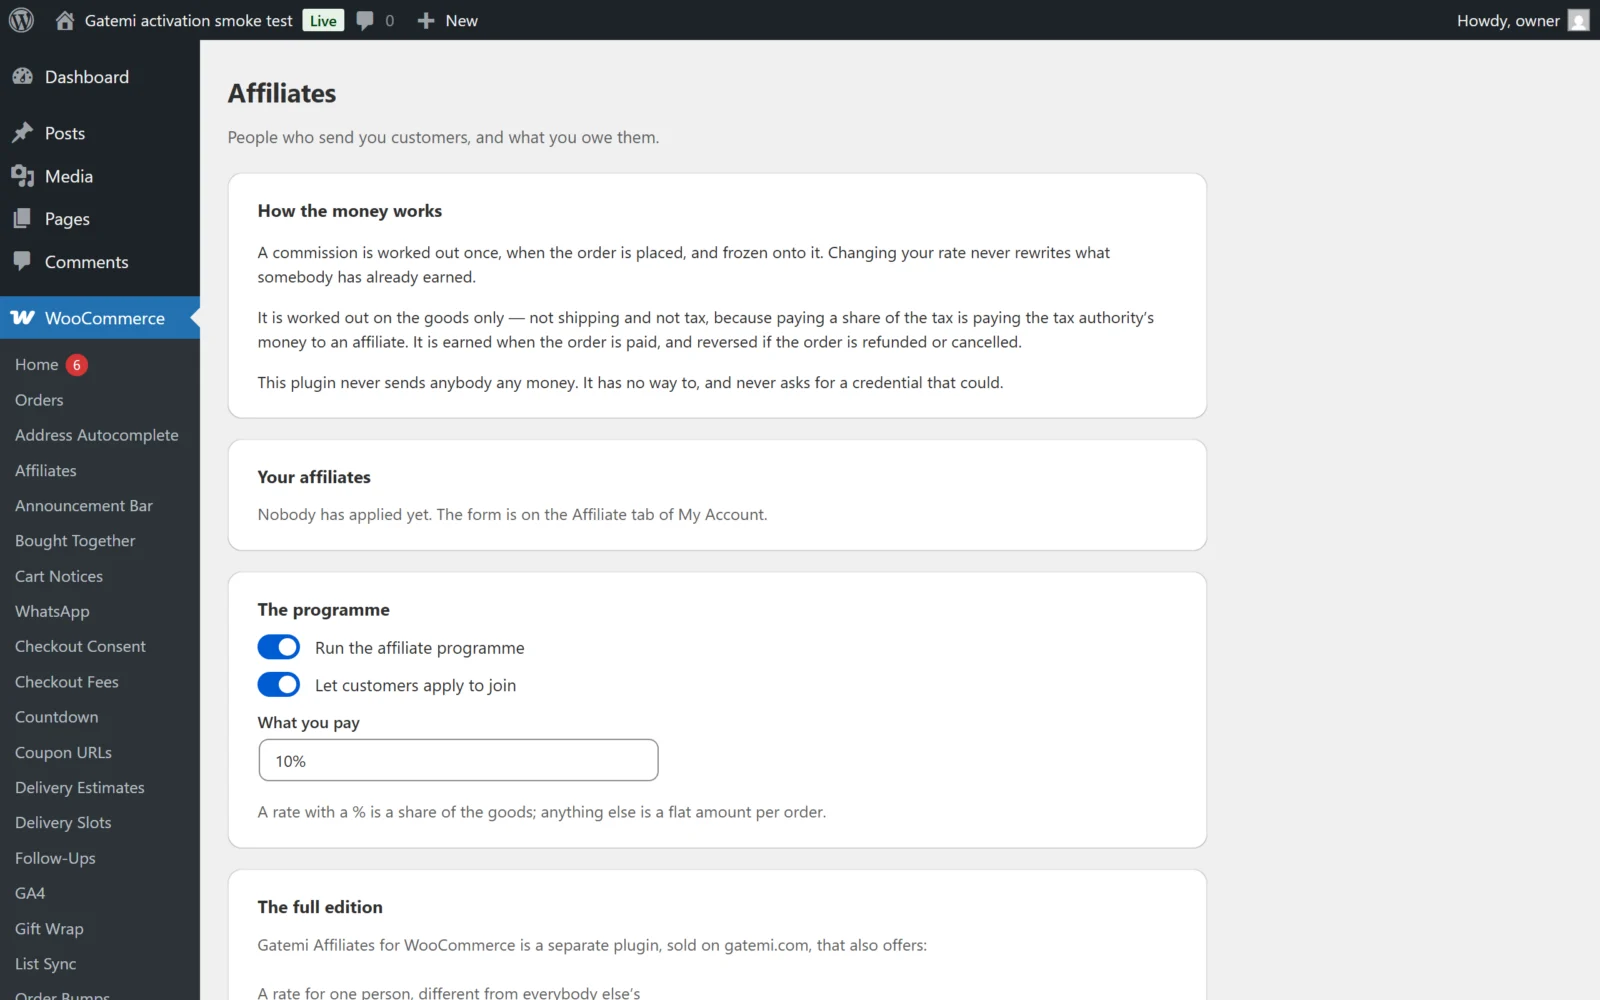
3. Approve an affiliate
- Sign in to the shop as a customer (or ask one to), open My Account → Affiliate and press Apply to join. The tab now says "Your application is with us."
- Back in WooCommerce → Affiliates, the applicant is listed under Your affiliates with the status pending. Press Approve.
- The row now shows their referral link, for example
https://example.com/?ref=4f1c9a27b0.
Full edition: with Approve applications automatically ticked, step 2 happens on its own.
4. Test a referral
- In a private window (signed out, or signed in as a different customer), open the affiliate's link. The Visits count goes up by one.
- Add a product to the cart and place the order.
- The order is now attributed: it carries the affiliate and the rate, and a commission row is written with the status Waiting on payment.
- Mark the order Processing or Completed. The commission becomes Earned, and the affiliate's Earned total on the admin screen goes up.
- Sign in as the affiliate and open My Account → Affiliate: their link, visits, figures and a list of commissions by date, amount and status.
An affiliate's own orders never earn: the plugin checks both the account that placed the order and the billing email on it.
Next steps
- Settings
- How it works — attribution, the money rule, and the life of a commission
- FAQ and troubleshooting