
Gatemi Back in Stock puts a small waitlist form on every out-of-stock product. A shopper leaves their email address, confirms it, and is emailed once when the product is in stock again.
These docs cover both editions:
- Gatemi Back in Stock — the free edition, coming to wordpress.org.
- Gatemi Back in Stock for WooCommerce — the full edition, sold on gatemi.com.
Anything marked Full edition is only in the paid plugin. Everything else is in both.
Requirements
| Free edition | Full edition | |
|---|---|---|
| WordPress | 6.4 or later | 6.4 or later |
| PHP | 7.4 or later | 7.4 or later |
| WooCommerce | 8.0 or later | 8.0 or later |
Both editions declare compatibility with High-Performance Order Storage (HPOS) and with the Cart and Checkout blocks.
Your site must be able to send email. The plugin sends with WordPress' own wp_mail(), so whatever SMTP or mail plugin you already use carries these messages too.
It also relies on WordPress cron. The emails go out from a scheduled "sweep" a minute after stock changes, not from the request that changed the stock (see How it works).
1. Install
Free edition: coming to wordpress.org. Until it is listed, install the zip through Plugins → Add New → Upload Plugin and activate it.
Full edition: download the zip from your gatemi.com account, go to Plugins → Add New → Upload Plugin, upload and activate. Then open WooCommerce → Back in Stock and enter your licence key in the License & updates card. The plugin works without a key; the key switches on one-click updates and support.
You only need one edition. If both are active, the free edition stands down and says so in a row under its entry on the Plugins screen — both editions use the same waitlist table, so nobody would be emailed twice.
The waitlist table (wp_gmbis_waitlist, with your own database prefix) is created on activation.
2. Open the screen
Go to WooCommerce → Back in Stock. You need the manage_woocommerce capability.
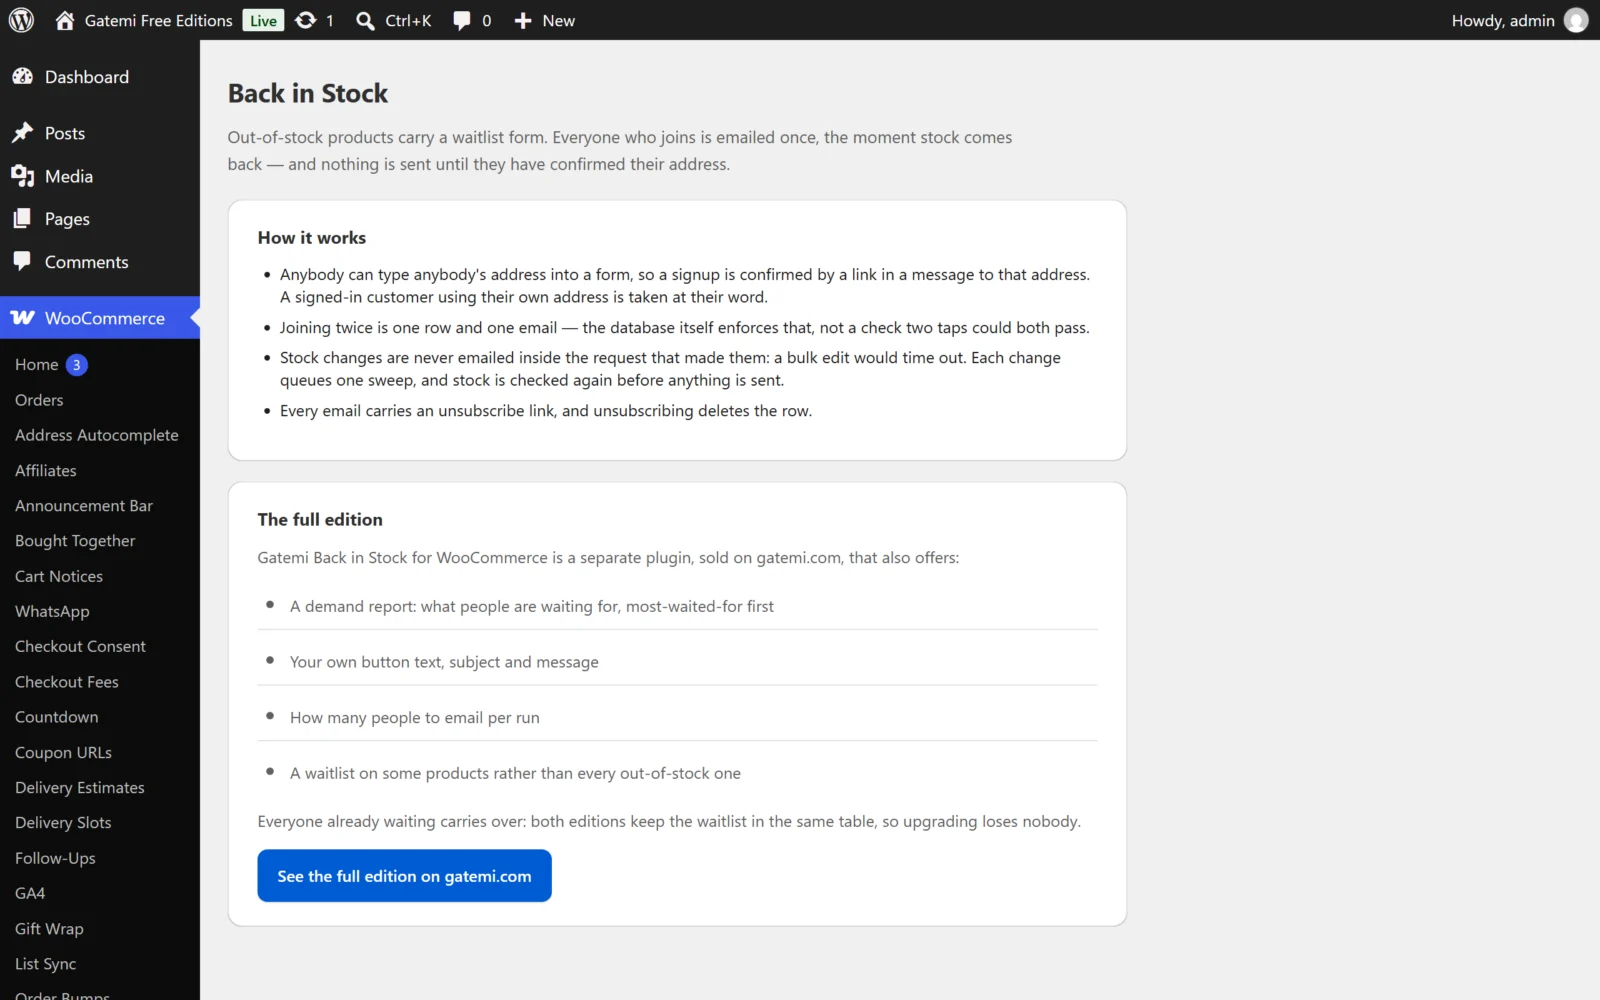
- Free edition: the screen explains how the waitlist works. There are no settings: the form appears on every out-of-stock product, address confirmation is always on and the email wording is fixed.
- Full edition: the screen opens with the demand report, then the settings. See Settings.
3. Test it
- Pick a simple product and set it out of stock (Products → Edit → Inventory, stock status Out of stock, or stock quantity 0 with stock management on).
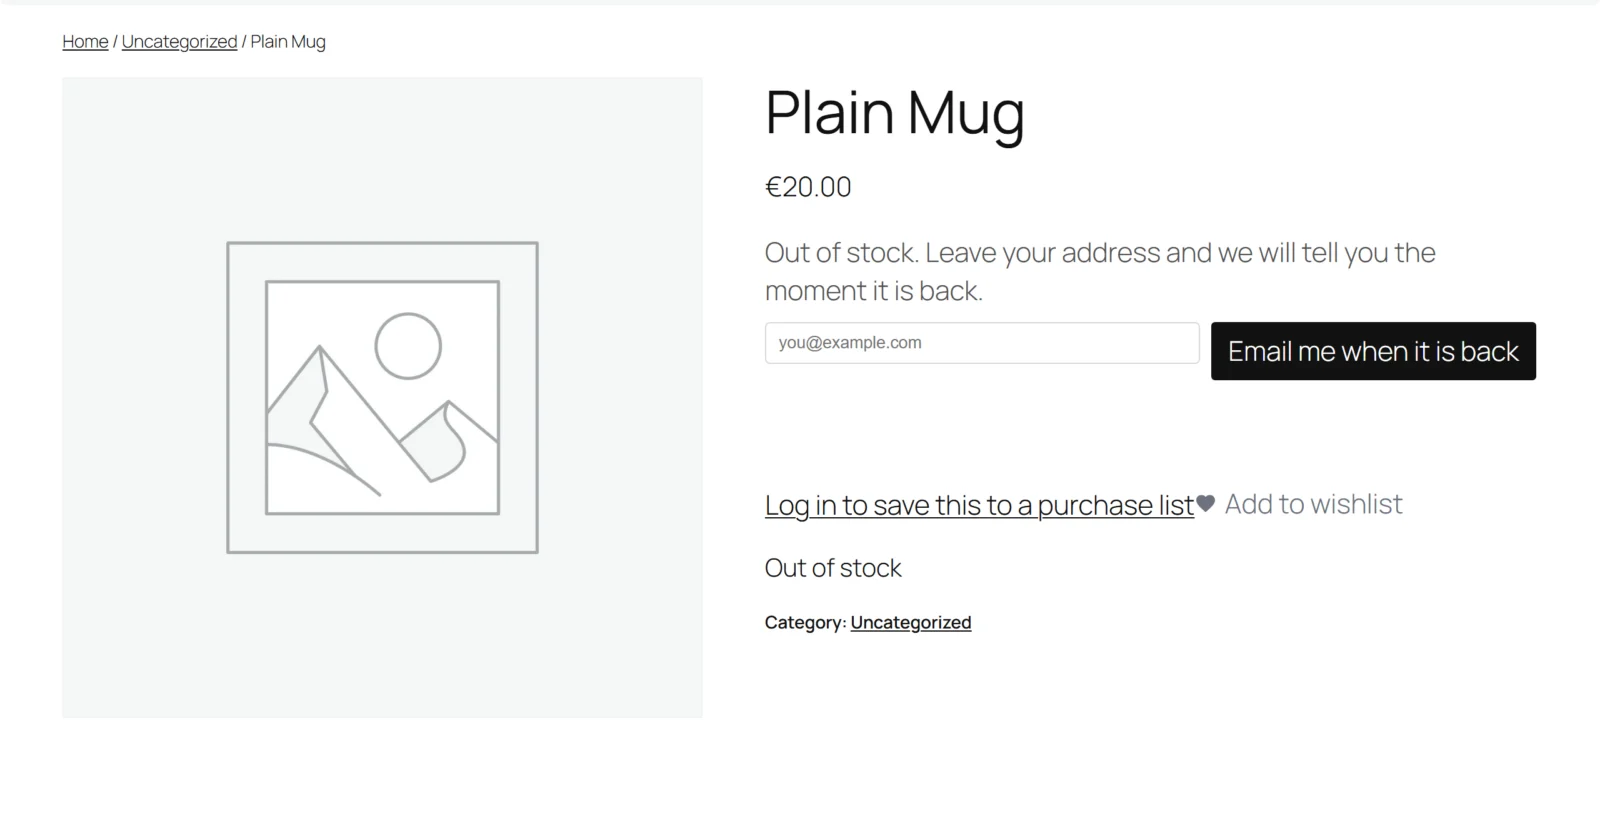
- Open the product page in a private window, where you are not signed in. Below the add-to-cart area you should see "Out of stock. Leave your address and we will tell you the moment it is back." with an email field and the Email me when it is back button.
- Enter an address you can read and press the button. The form answers "Almost done — open the confirmation link we just emailed you."
- Open the email "Confirm: tell me when product is back" and click the link. The product page shows "You are on the list."
- Back in the admin, put the product back in stock and save.
- Wait a minute or two. WordPress cron runs when the site gets a visit, so load any page of the site. The email "product is back in stock" arrives, with an unsubscribe link at the bottom.
If you are signed in and use your own account's address, step 4 is skipped: WordPress already confirmed that address when the account was created, so the signup is confirmed straight away ("Done. We will email you the moment it is back.").
Where the form appears
The form is printed on the single product page, through WooCommerce's woocommerce_single_product_summary hook, just after the add-to-cart area. It appears only when the product:
- is out of stock,
- is purchasable, and
- is not an external/affiliate product.
It does not appear on shop or category pages.
Next steps
- Settings — the full edition's six settings.
- How it works — confirmation, the claim and the sweep.
- FAQ and troubleshooting